Before We Begin:
Disclaimers
This document covers the DIY installation of the Mobius Power Strip Saturn VA0 kit. Mobius Strip Technologies or any of it’s associates cannot be held responsible for any damage that occurs from the improper installation of this device. It is expected that the person performing this installation has the necessary tools and knowledge to safely do so. If you are not comfortable with electrical circuits, discharging capacitors, using basic hand tools, or working with electronic devices with high ElectroStatic Discharge sensitivity, please stop now and consult a qualified technician. You have been warned.
- It is expected that you already know how to open your Sega Saturn console. If you are unfamiliar with this process, please seek out tutorials on disassembling your Sega Saturn console.
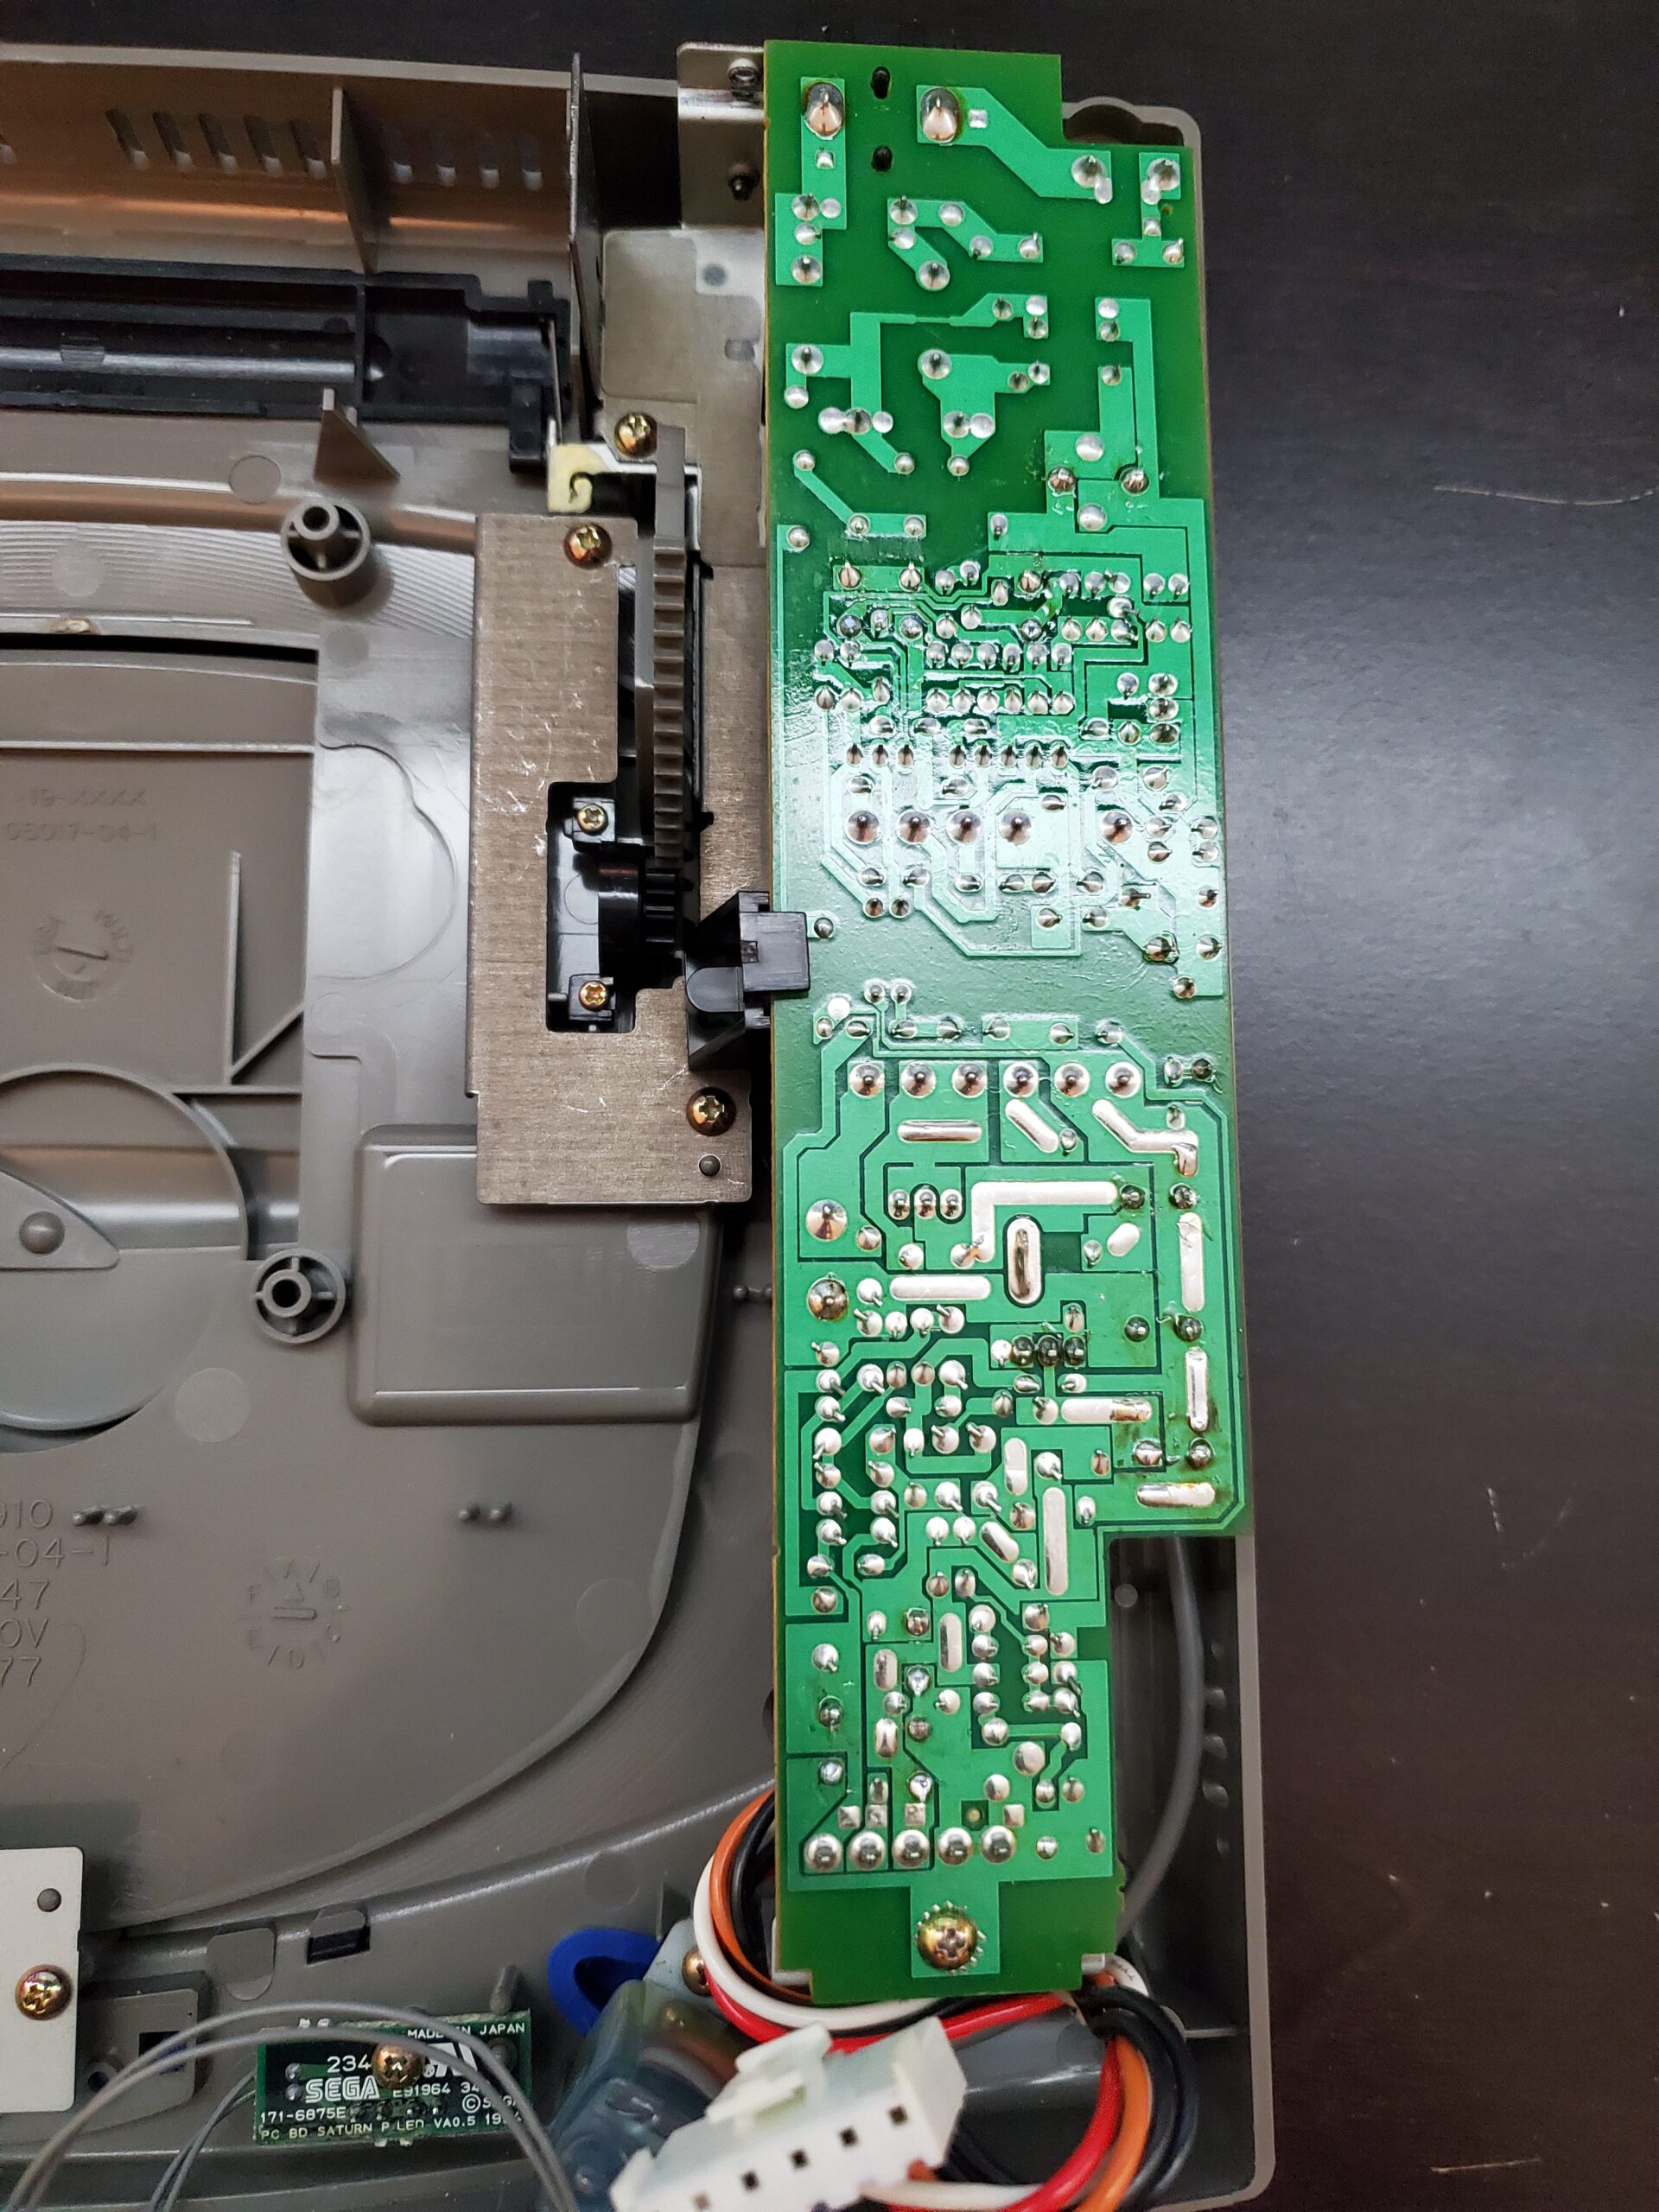
- Once you have opened your Sega Saturn console, you should see a long circuit board attached to the top half of your console. If you do not have this, your console is not a VA0 and this walk through is not designed for you.

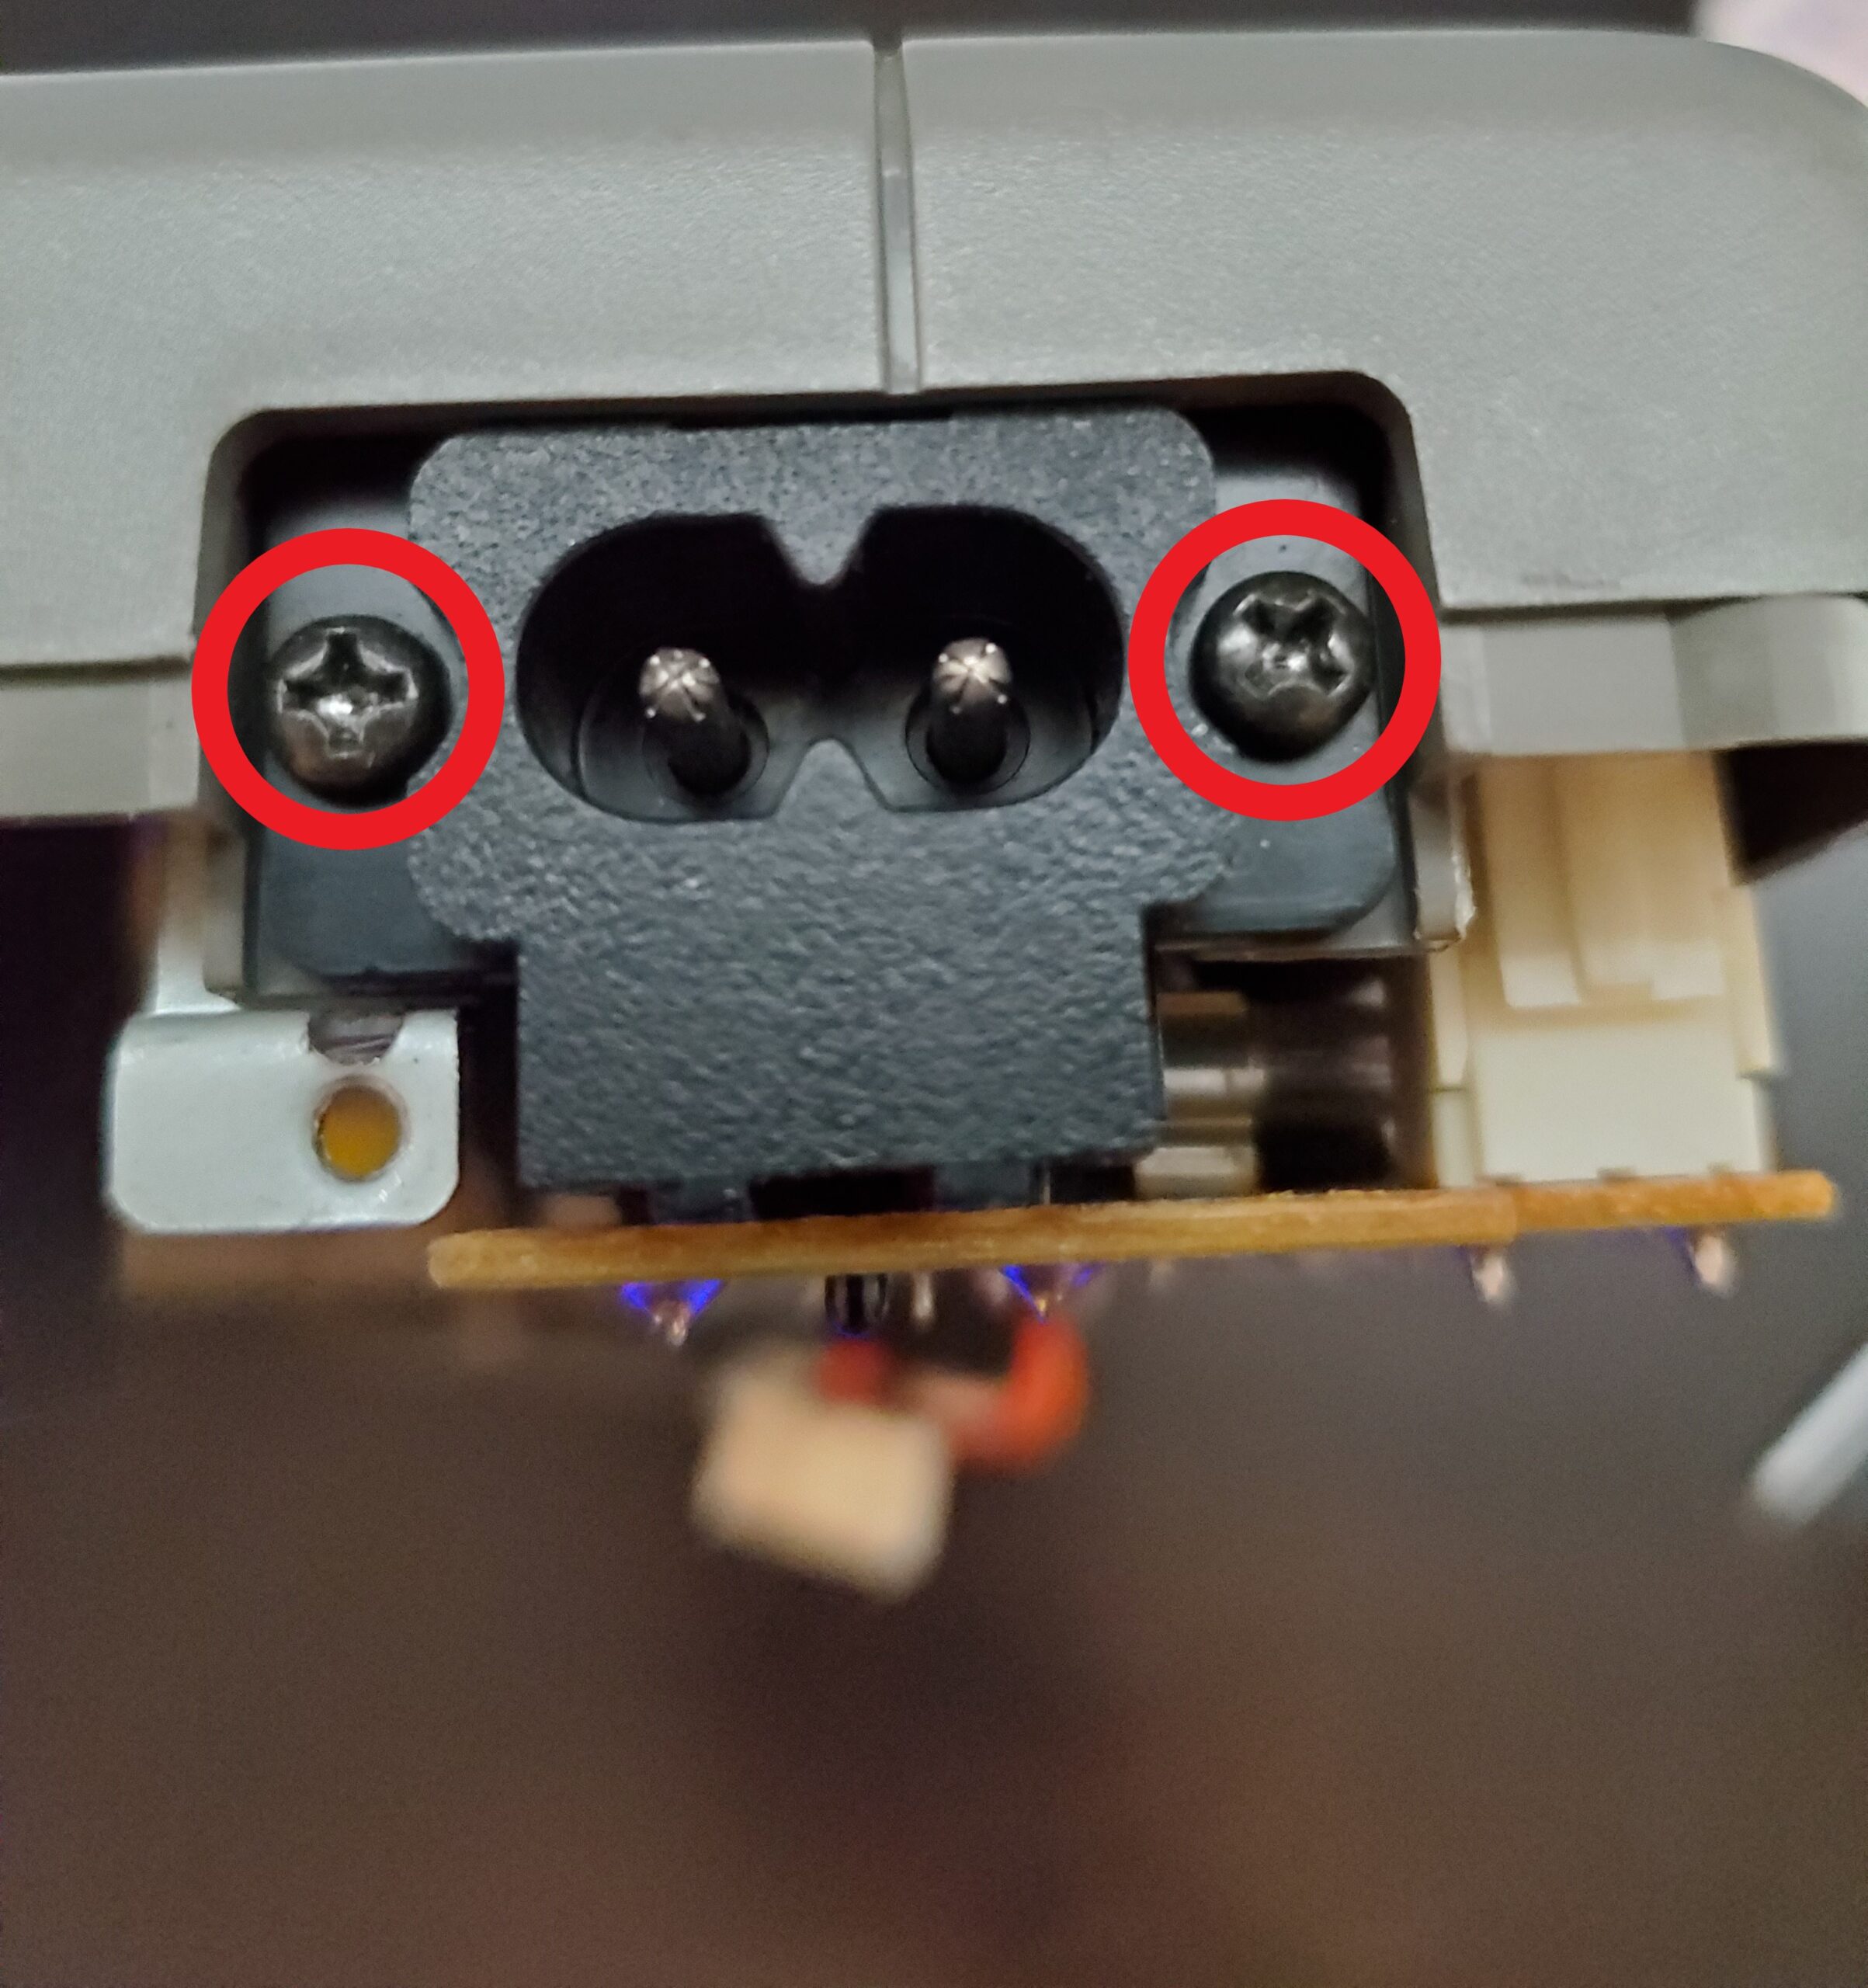
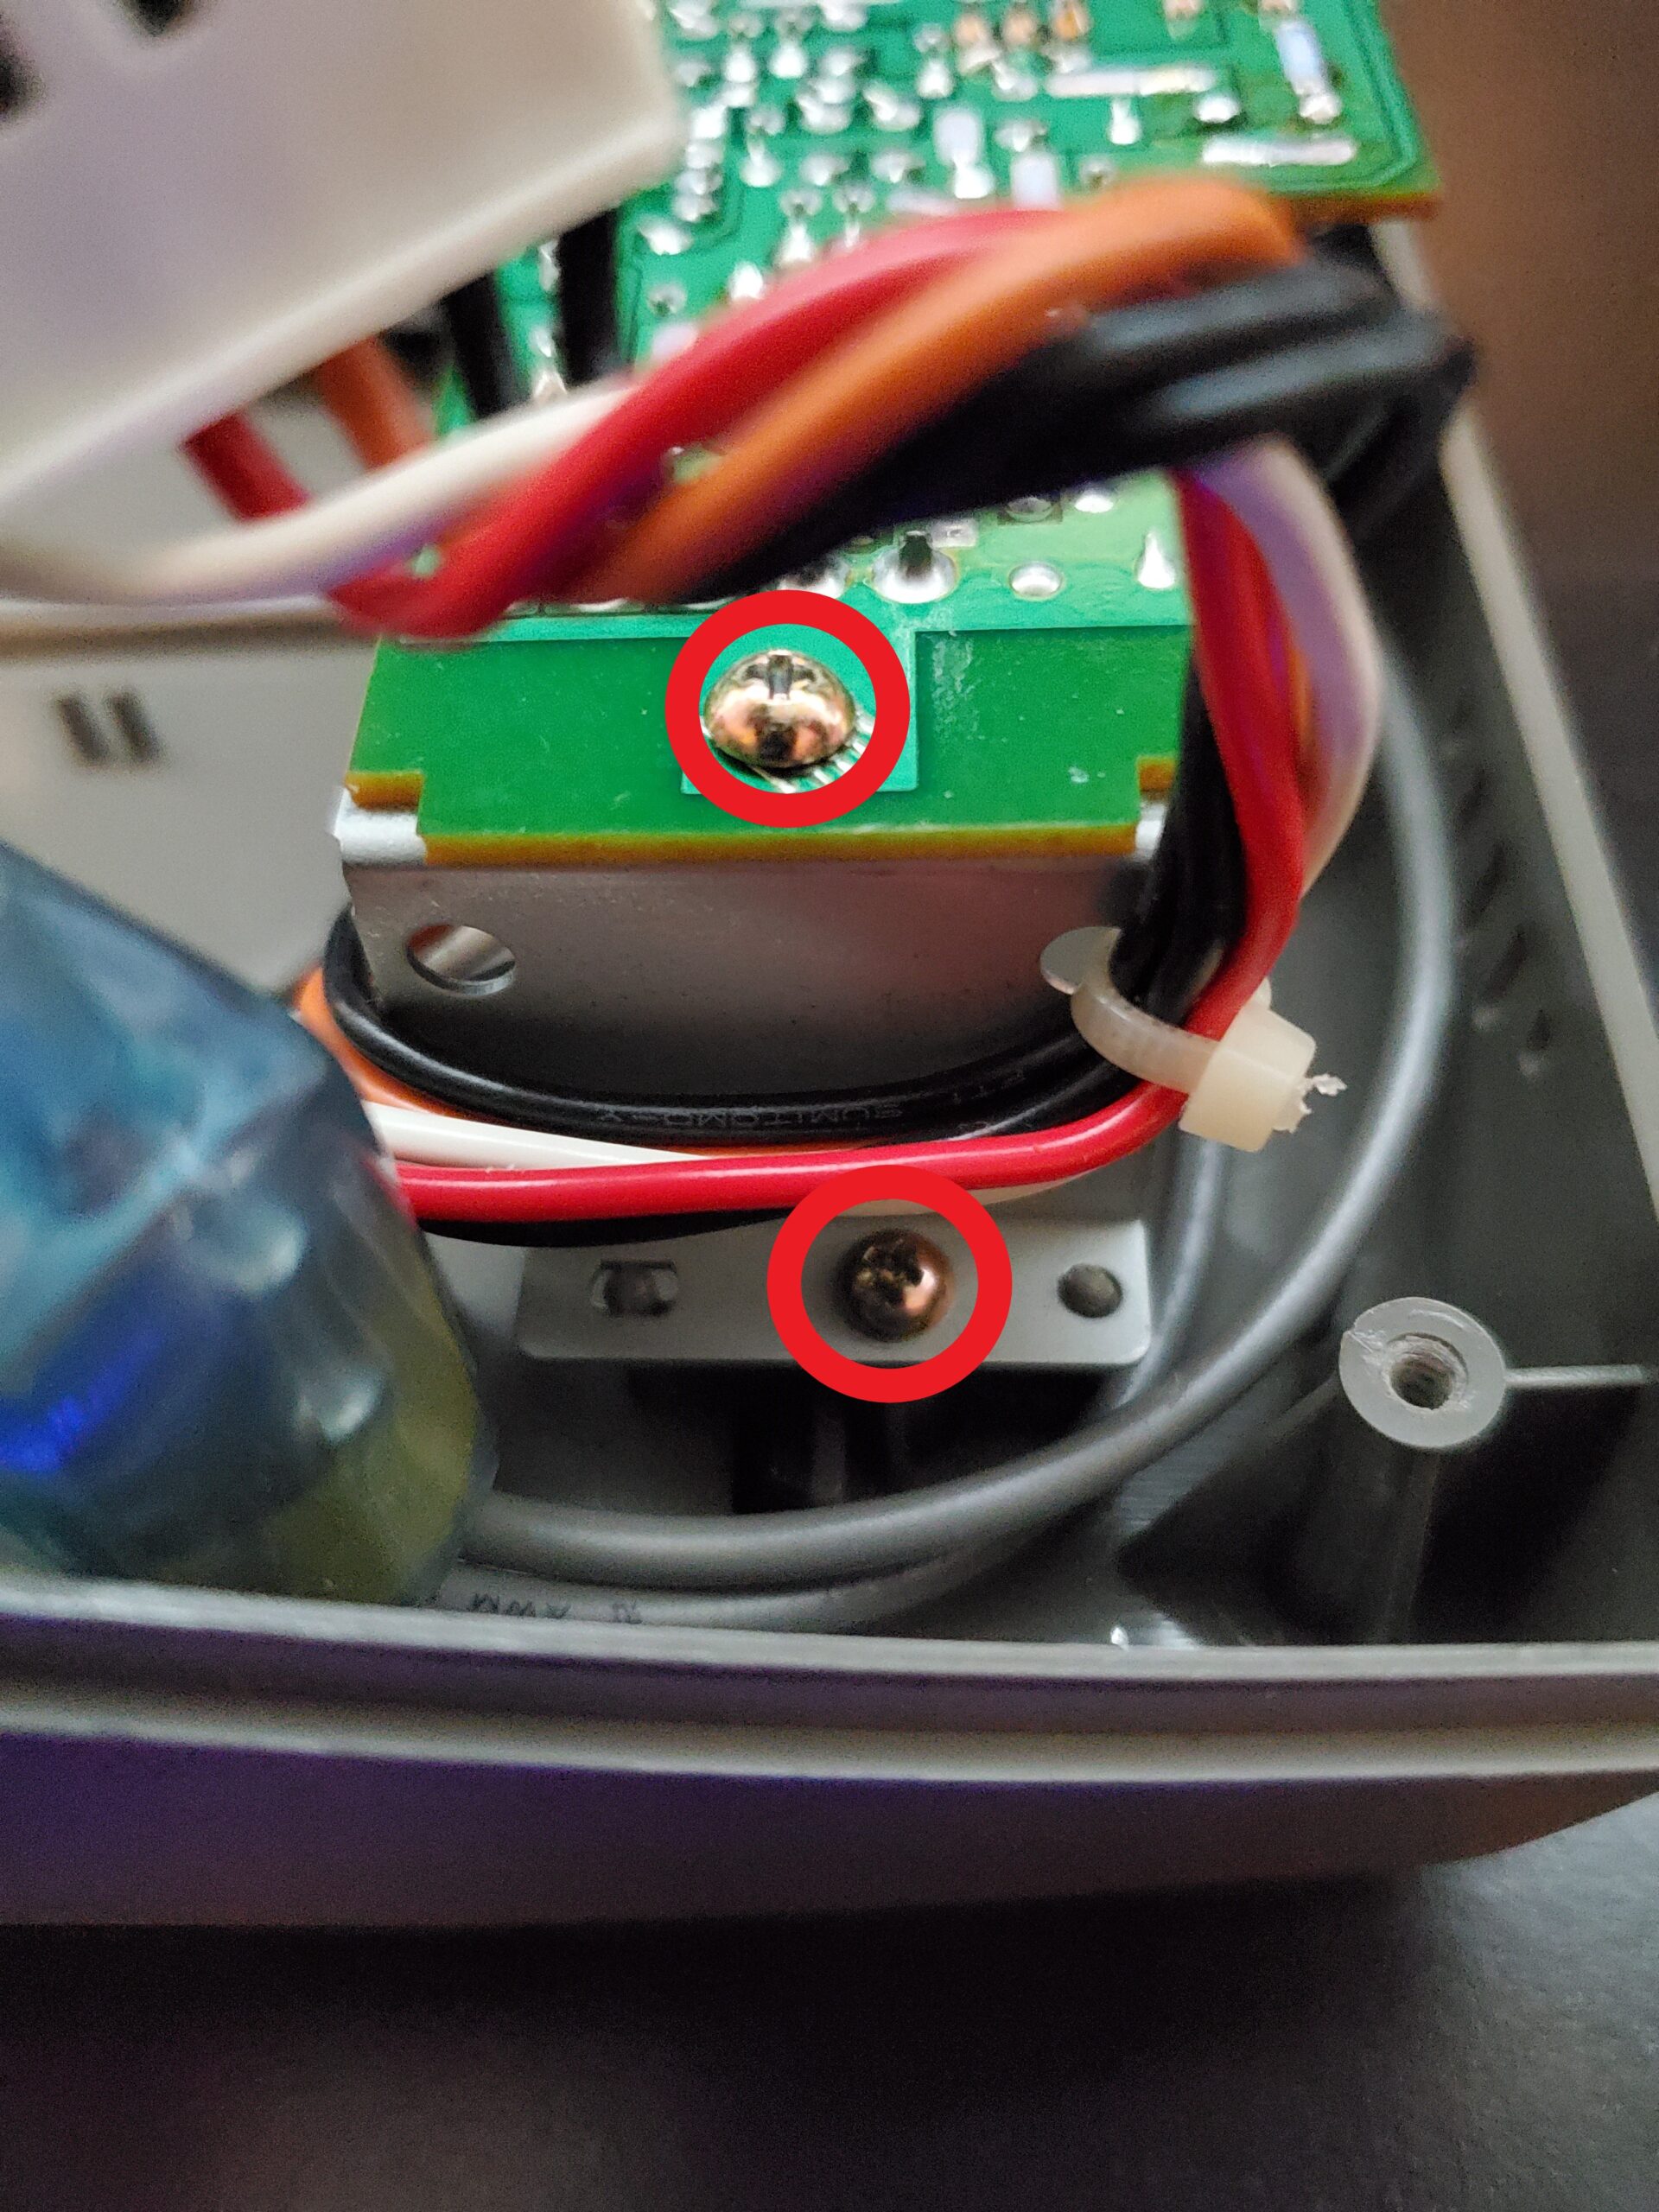
- We now need to remove the 2 screws holding the AC power port to the case as shown circled in red.

- Once these are removed we can remove the 2 screws holding the circuit board to the top of the console. These are found at the opposite end of the circuit board near the front of the console.
- You will now be able to lift the circuit board out and set it aside. It will no longer be needed and will be replaced by your Mobius Power Strip.
- Now we need to remove the black plastic “holder” for the circuit board we just removed. Depending on your console, you may have a one piece bracket or a two piece bracket. If you have a one piece bracket, follow along here. If you have a two piece bracket, skip ahead to step 11.


TWO PIECE BRACKET 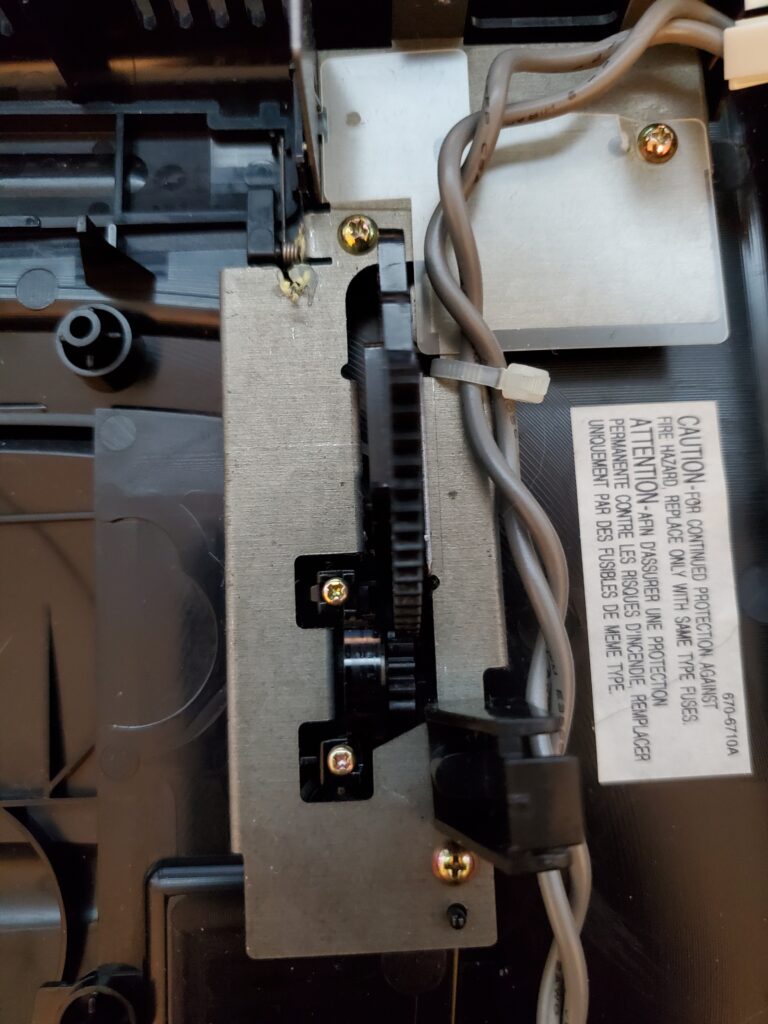
ONE PIECE BRACKET
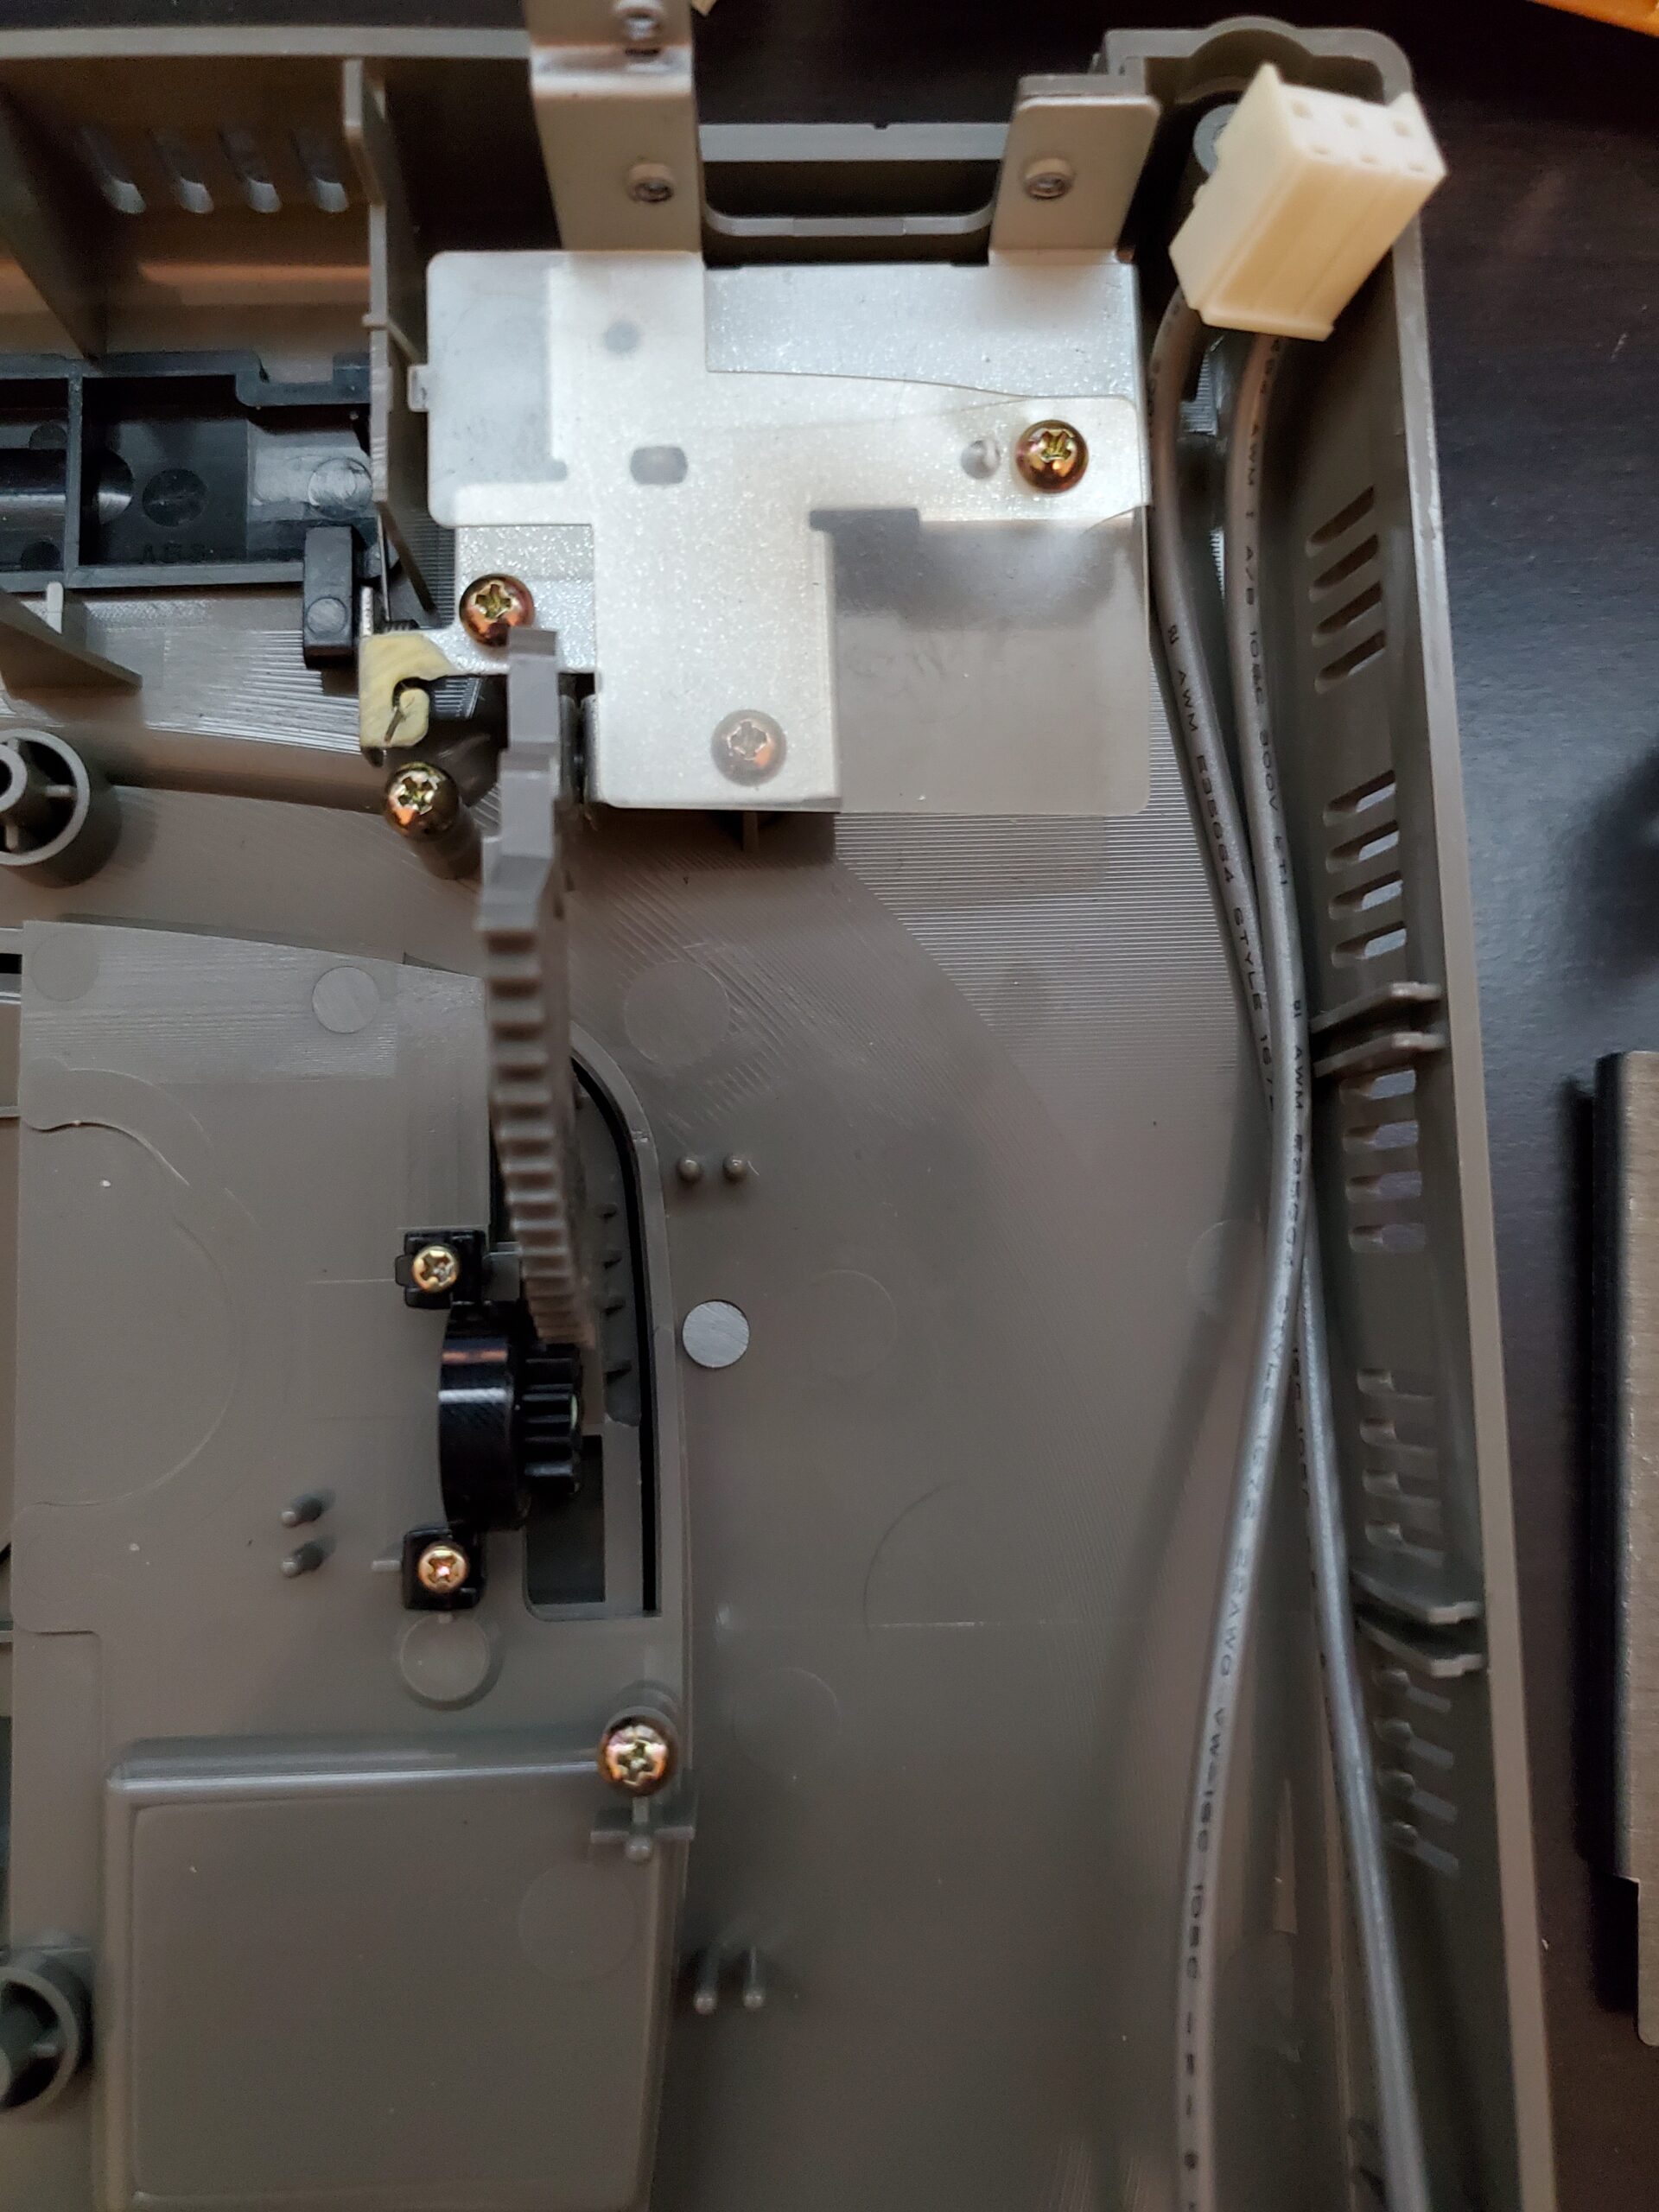
- Remove the screws circled in red to remove the one piece bracket. Be careful during removal not to lose or damage the cart slot cover or spring. These will be reinstalled later.
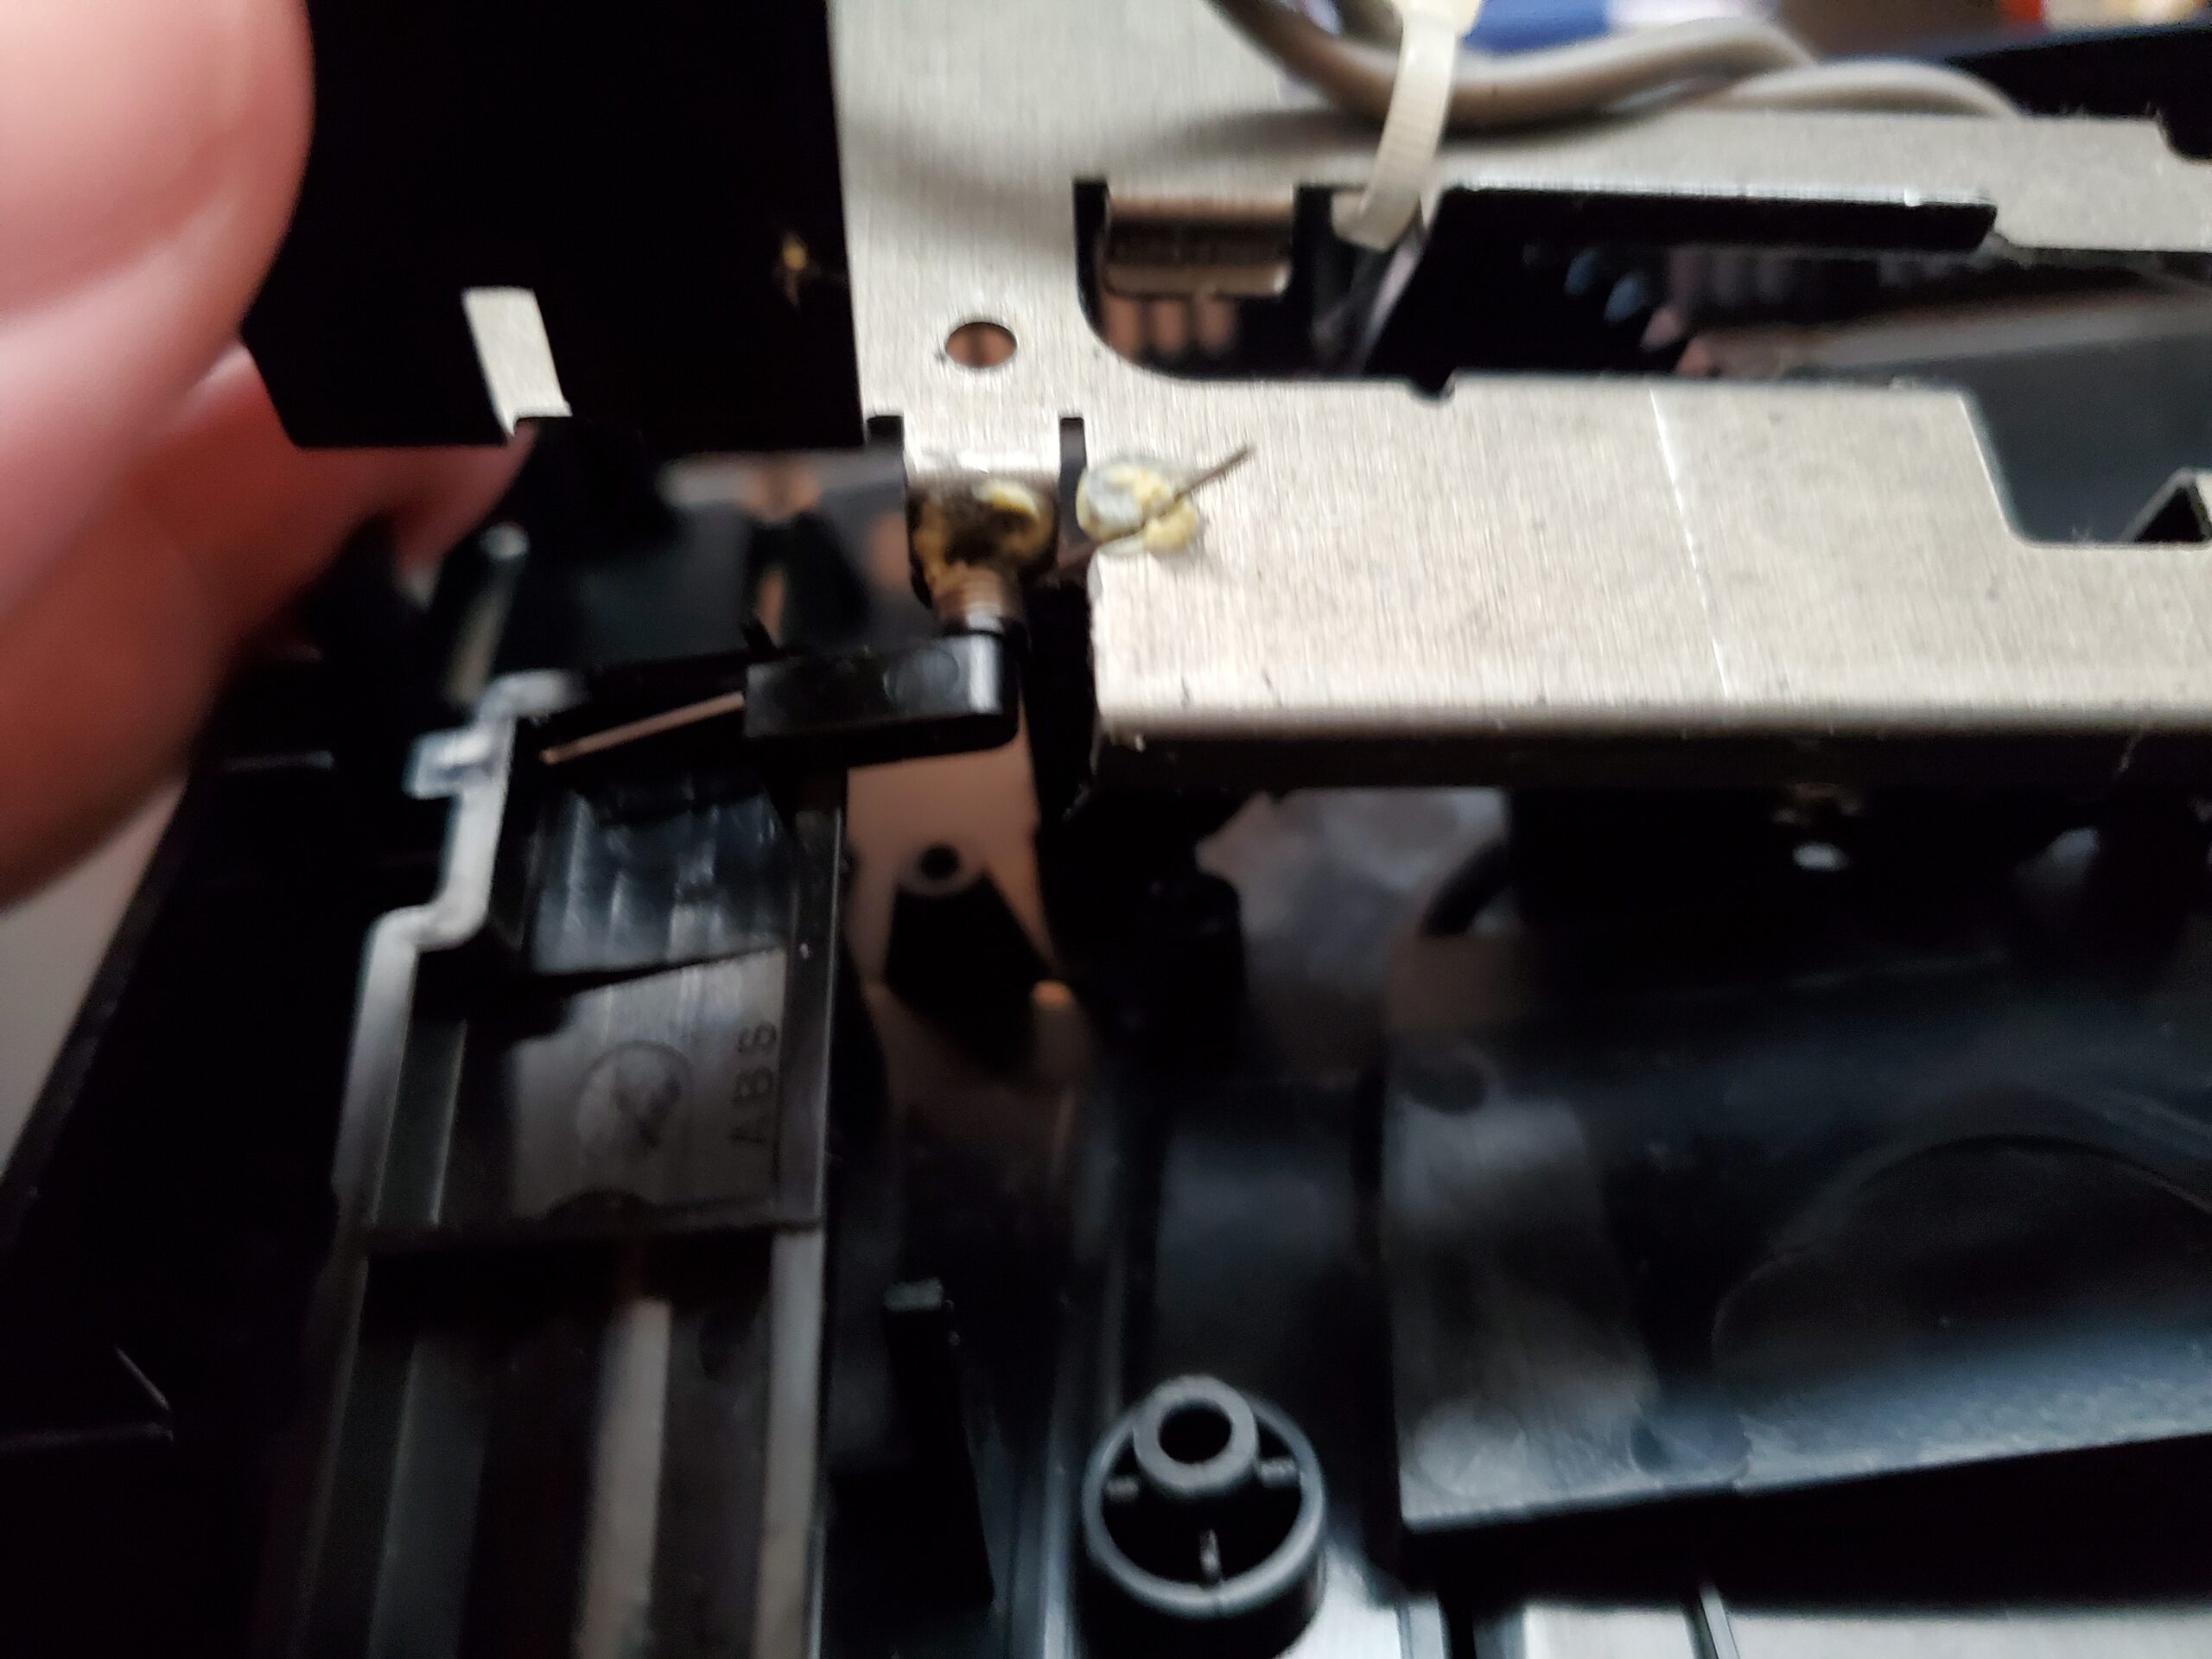
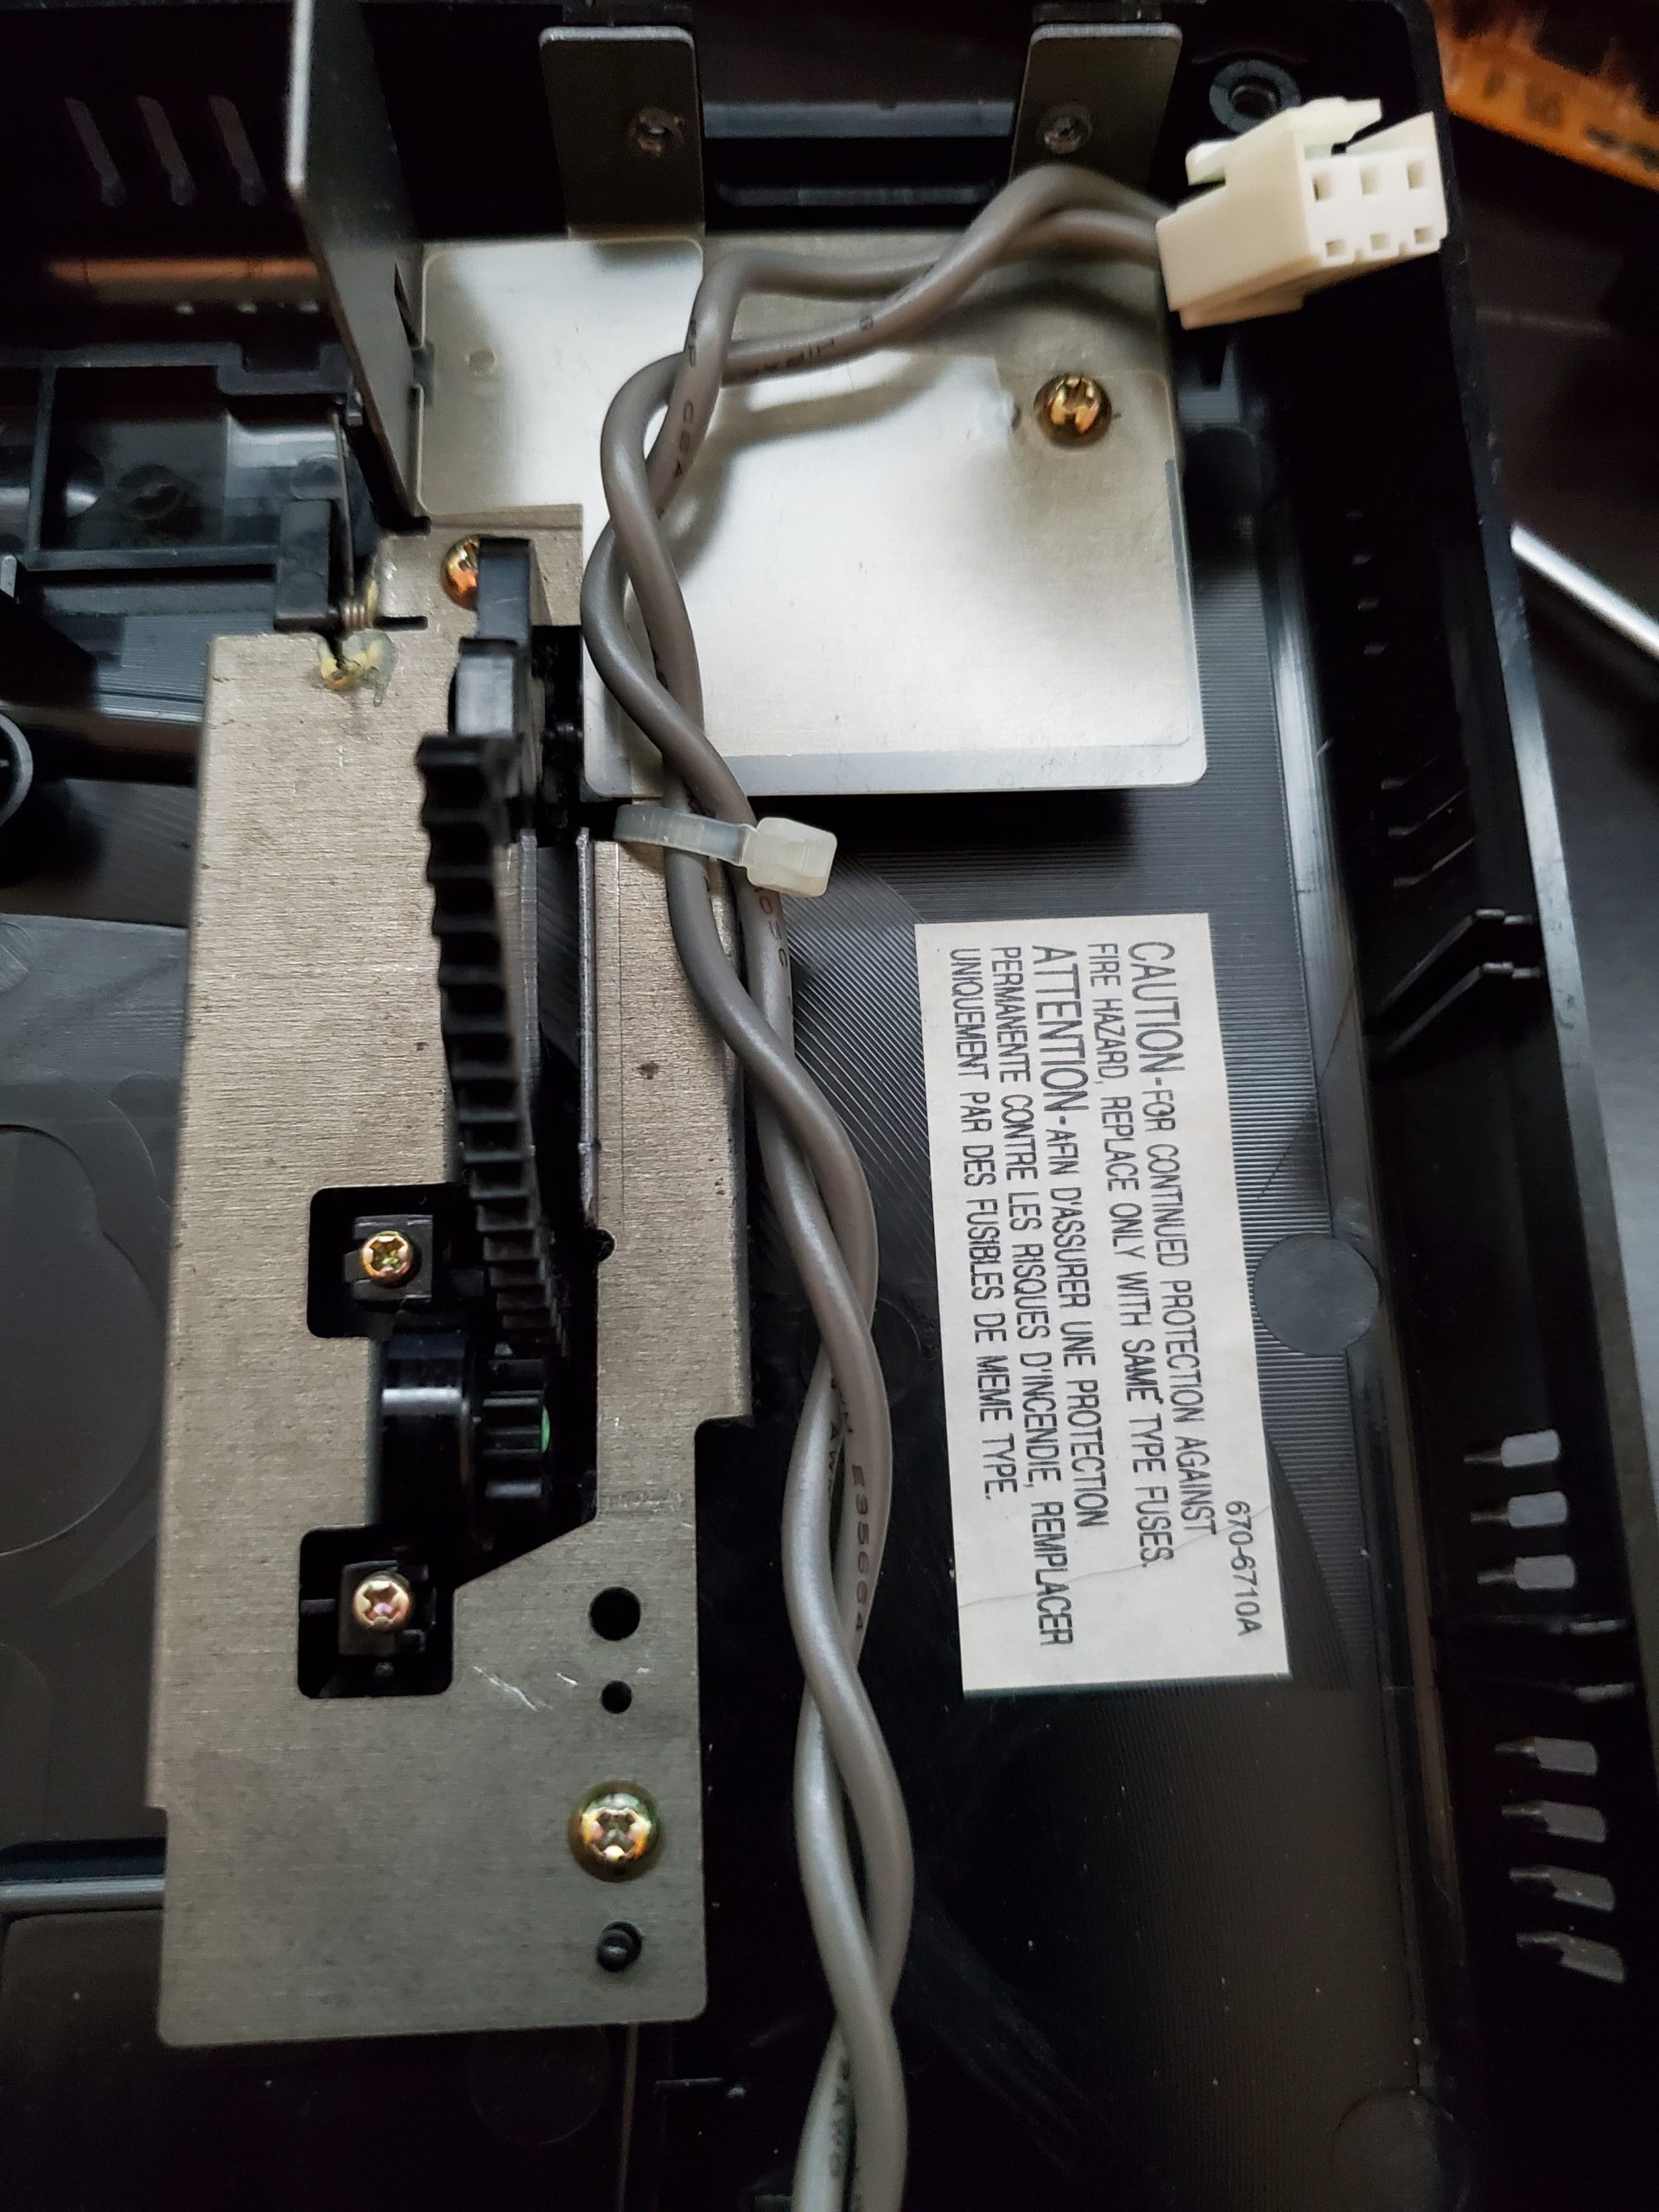
- Now that the screws are removed carefully remove the bracket and flip it over. There is a single screw, circled in red, to remove the plastic circuit board holder. Now would also be a good time to cut the zip tie holding the power switch wires. Cut it at the red line shown below. If you do not have a zip tie, that is okay and you can ignore that part.
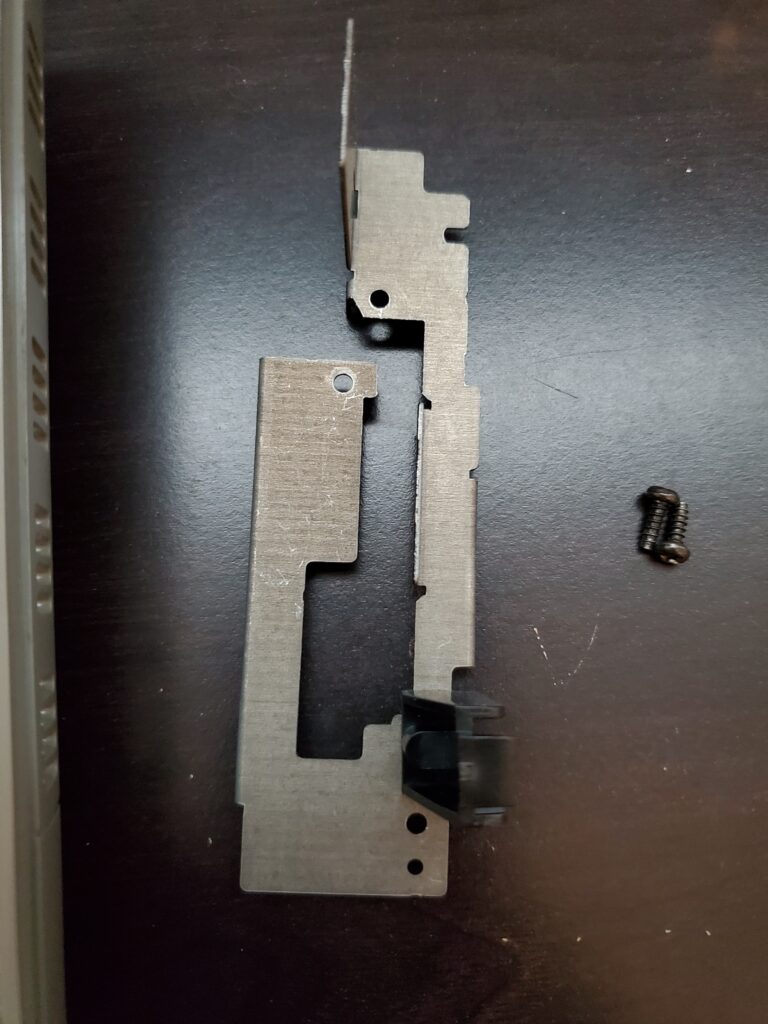
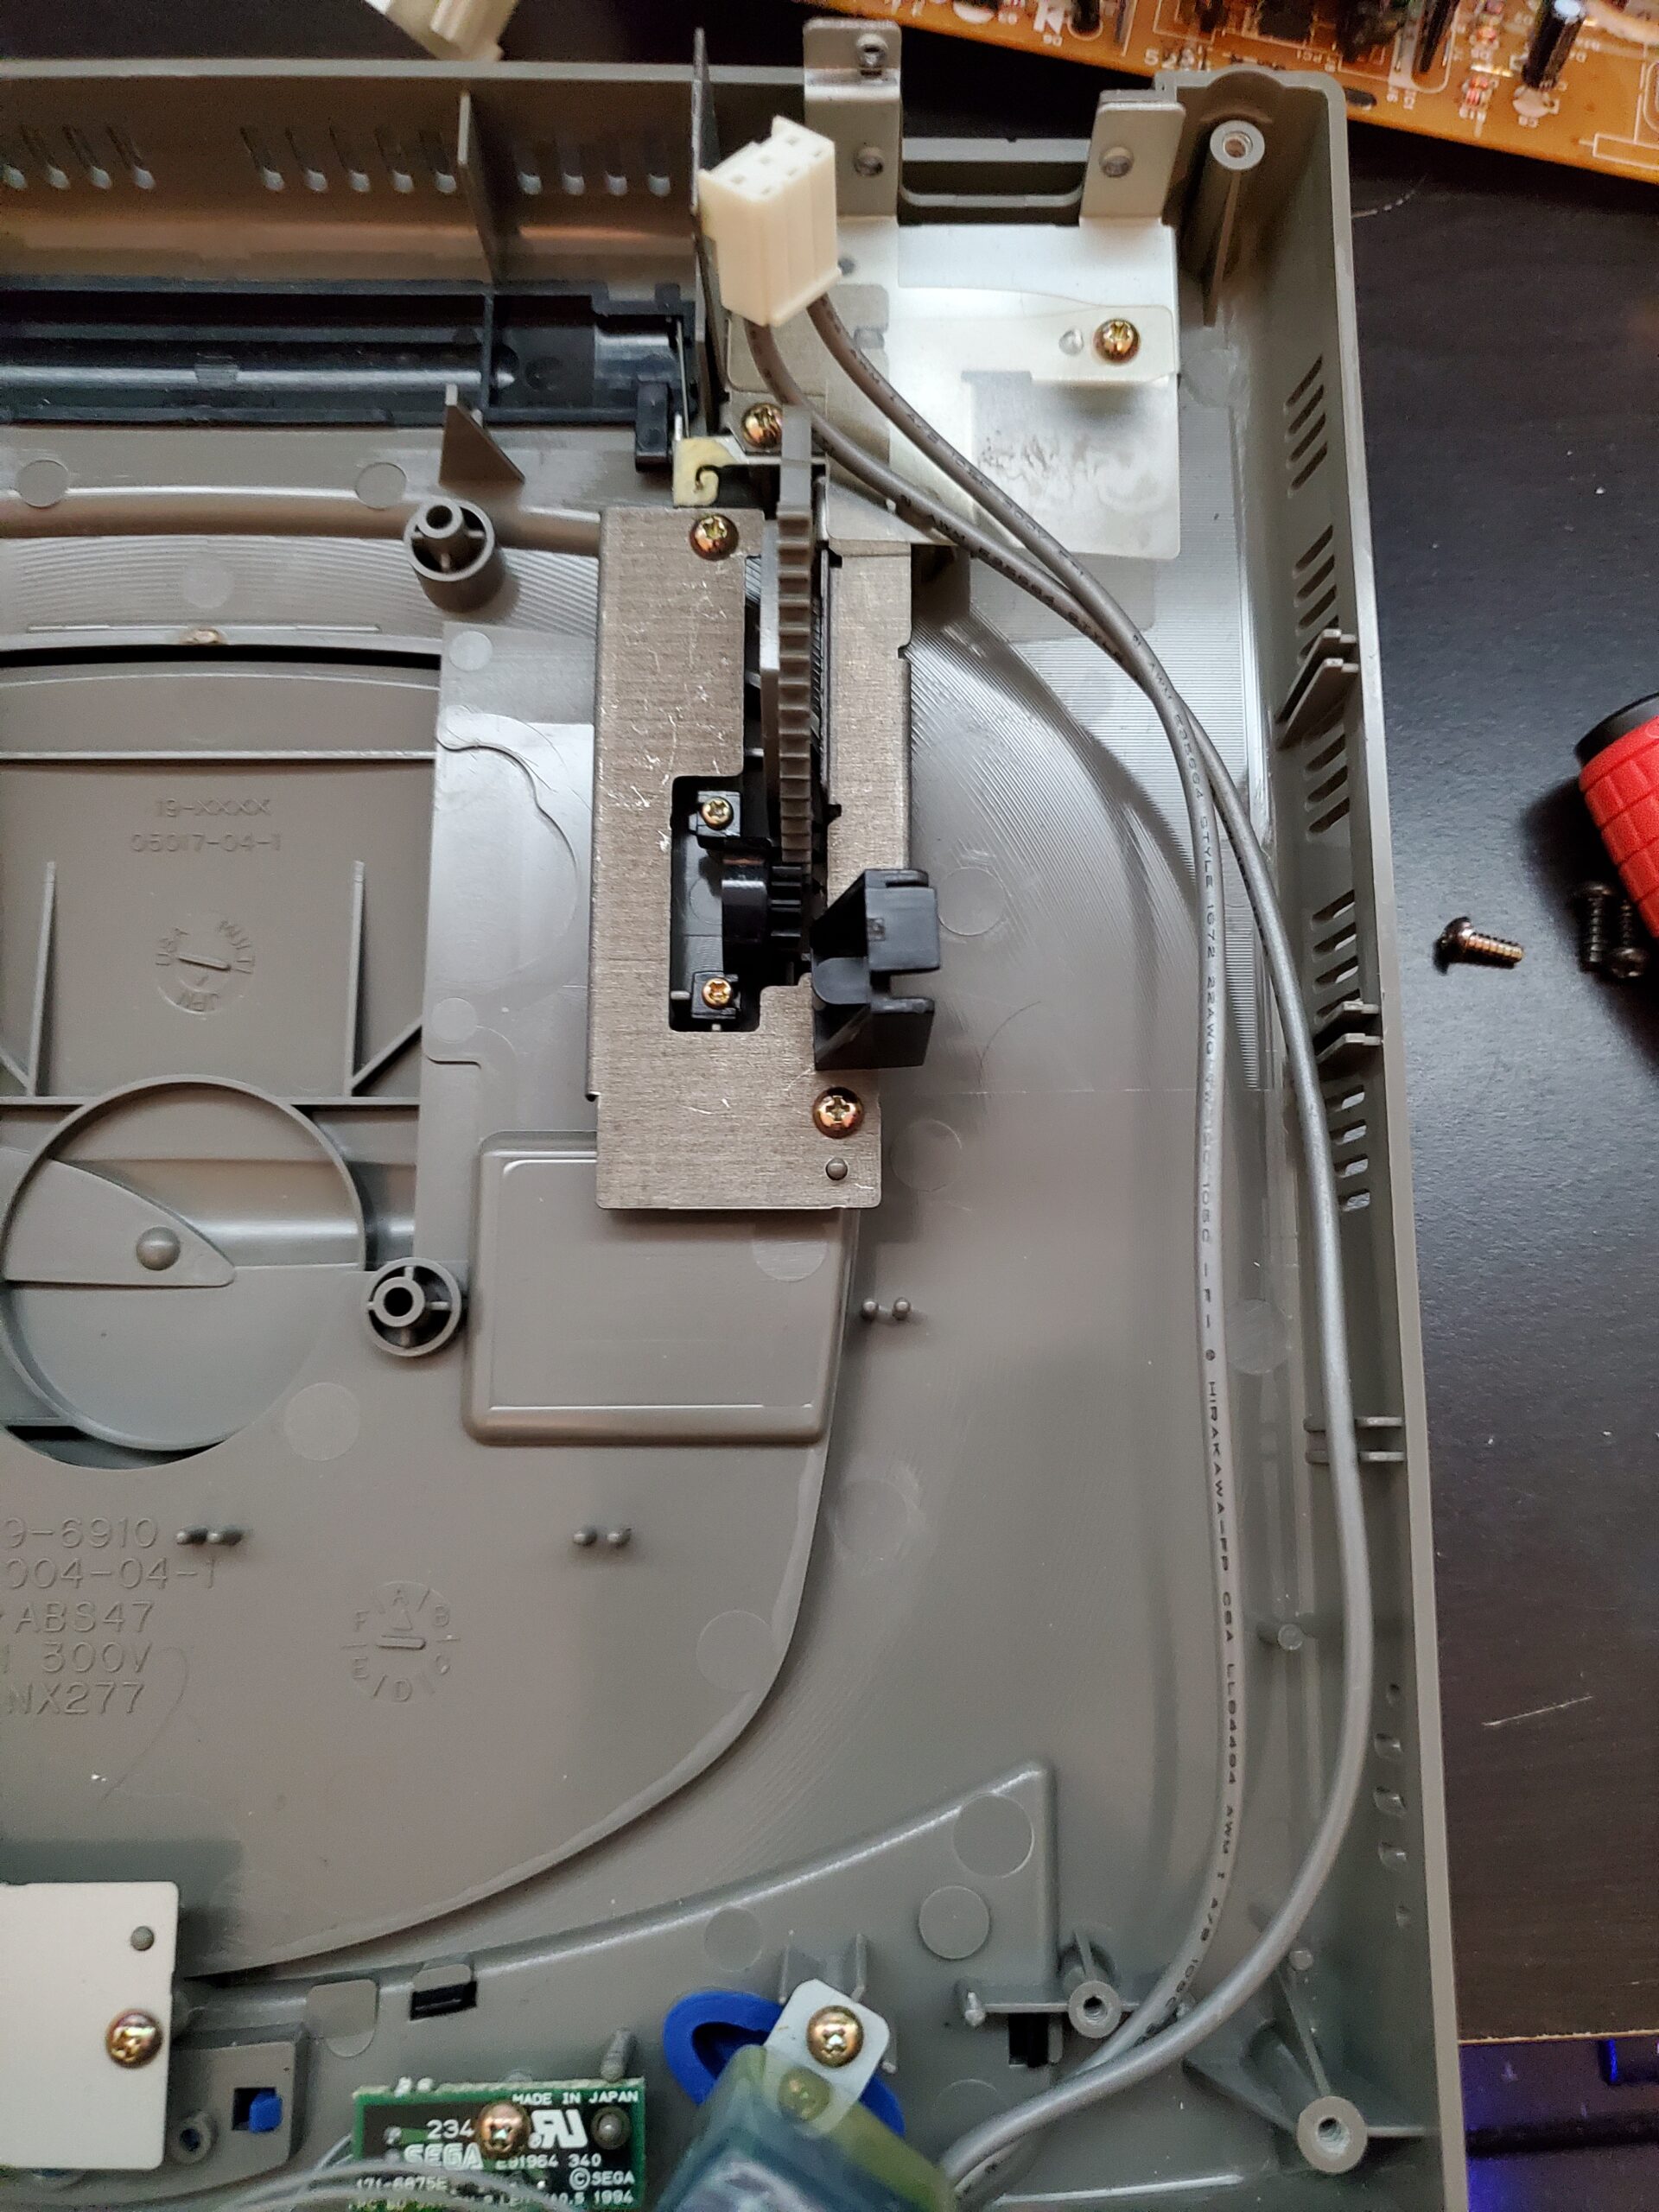
Bracket Removed 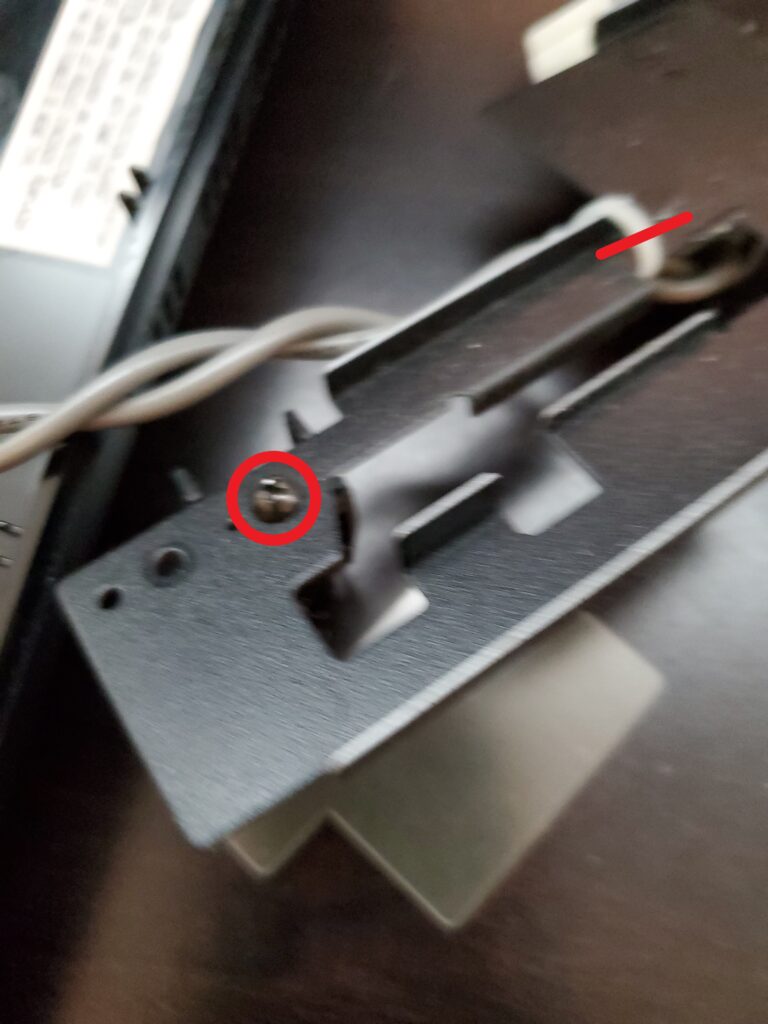
Remove the Screw and Cut the Zip Tie
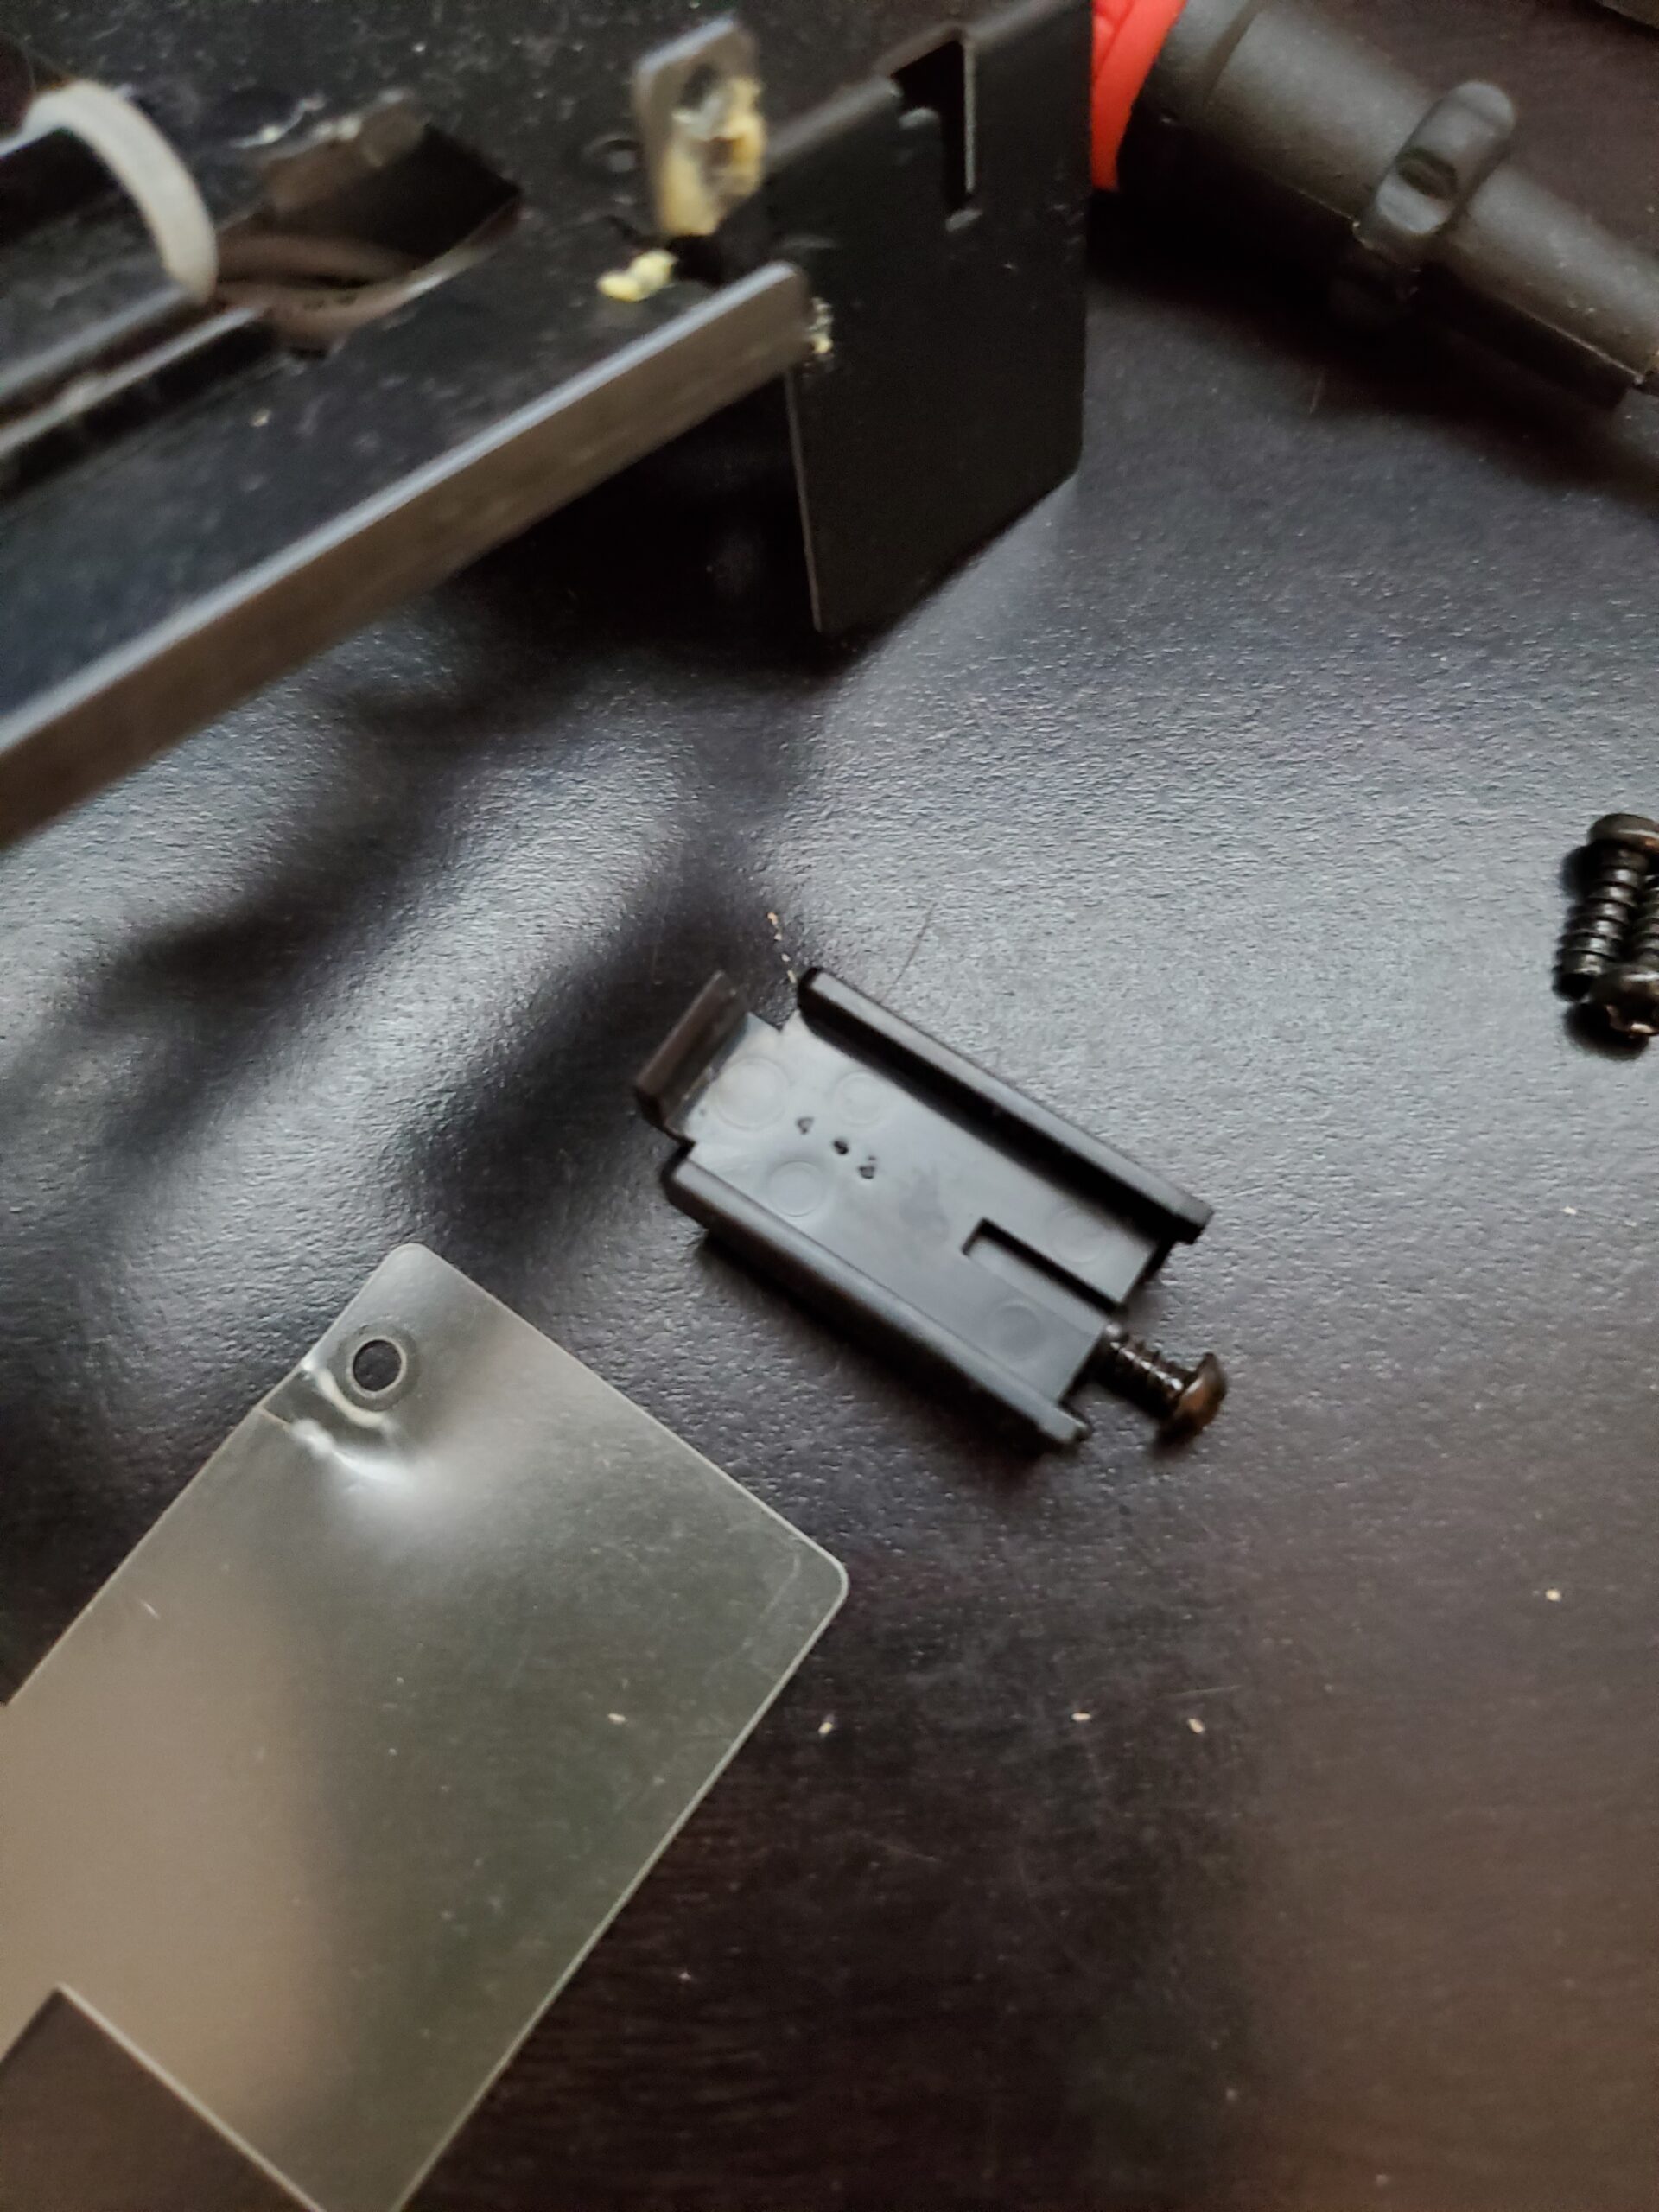
- Once the black plastic holder is removed, you can store the screw for it in the holder itself and set it off to the side. It will not be re-used.
- You can now reinstall the metal bracket. Be sure to re-install the cart slot to ensure proper functionality. Once that is complete skip ahead to step 13.


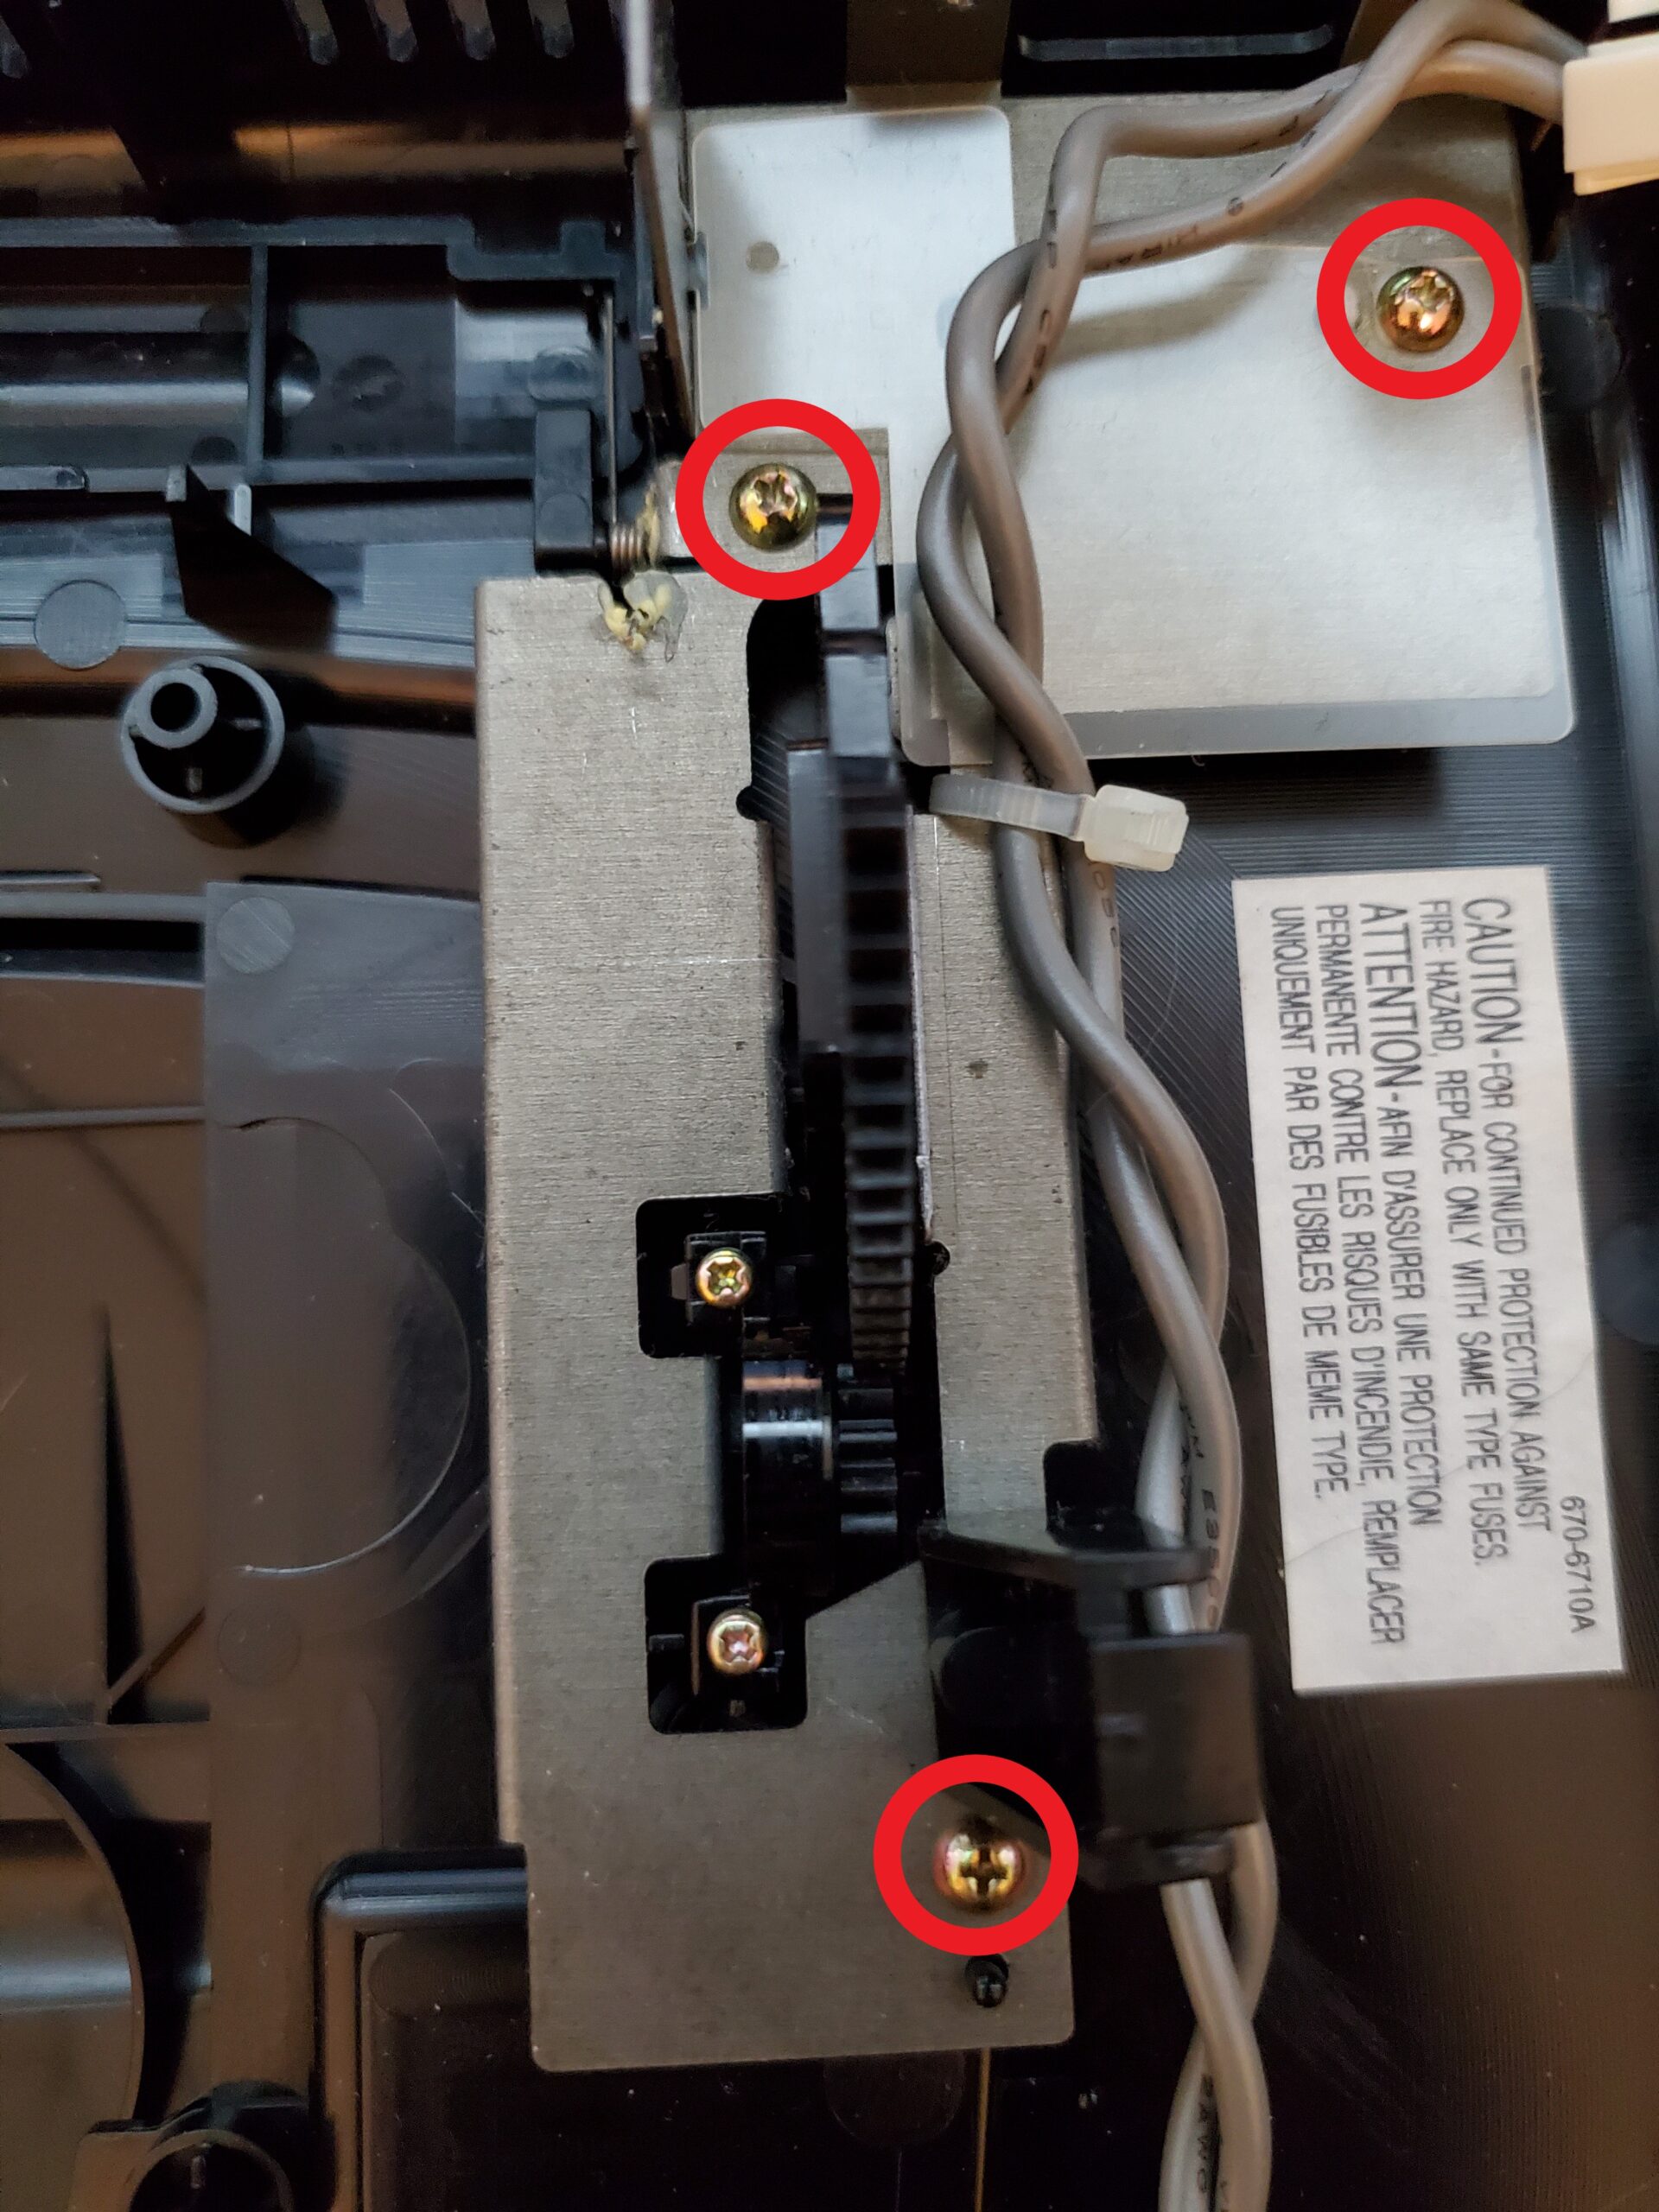
- If you had a two piece metal bracket, the steps for removing your plastic holder start here. We will start by removing the 3 screws circled in red.
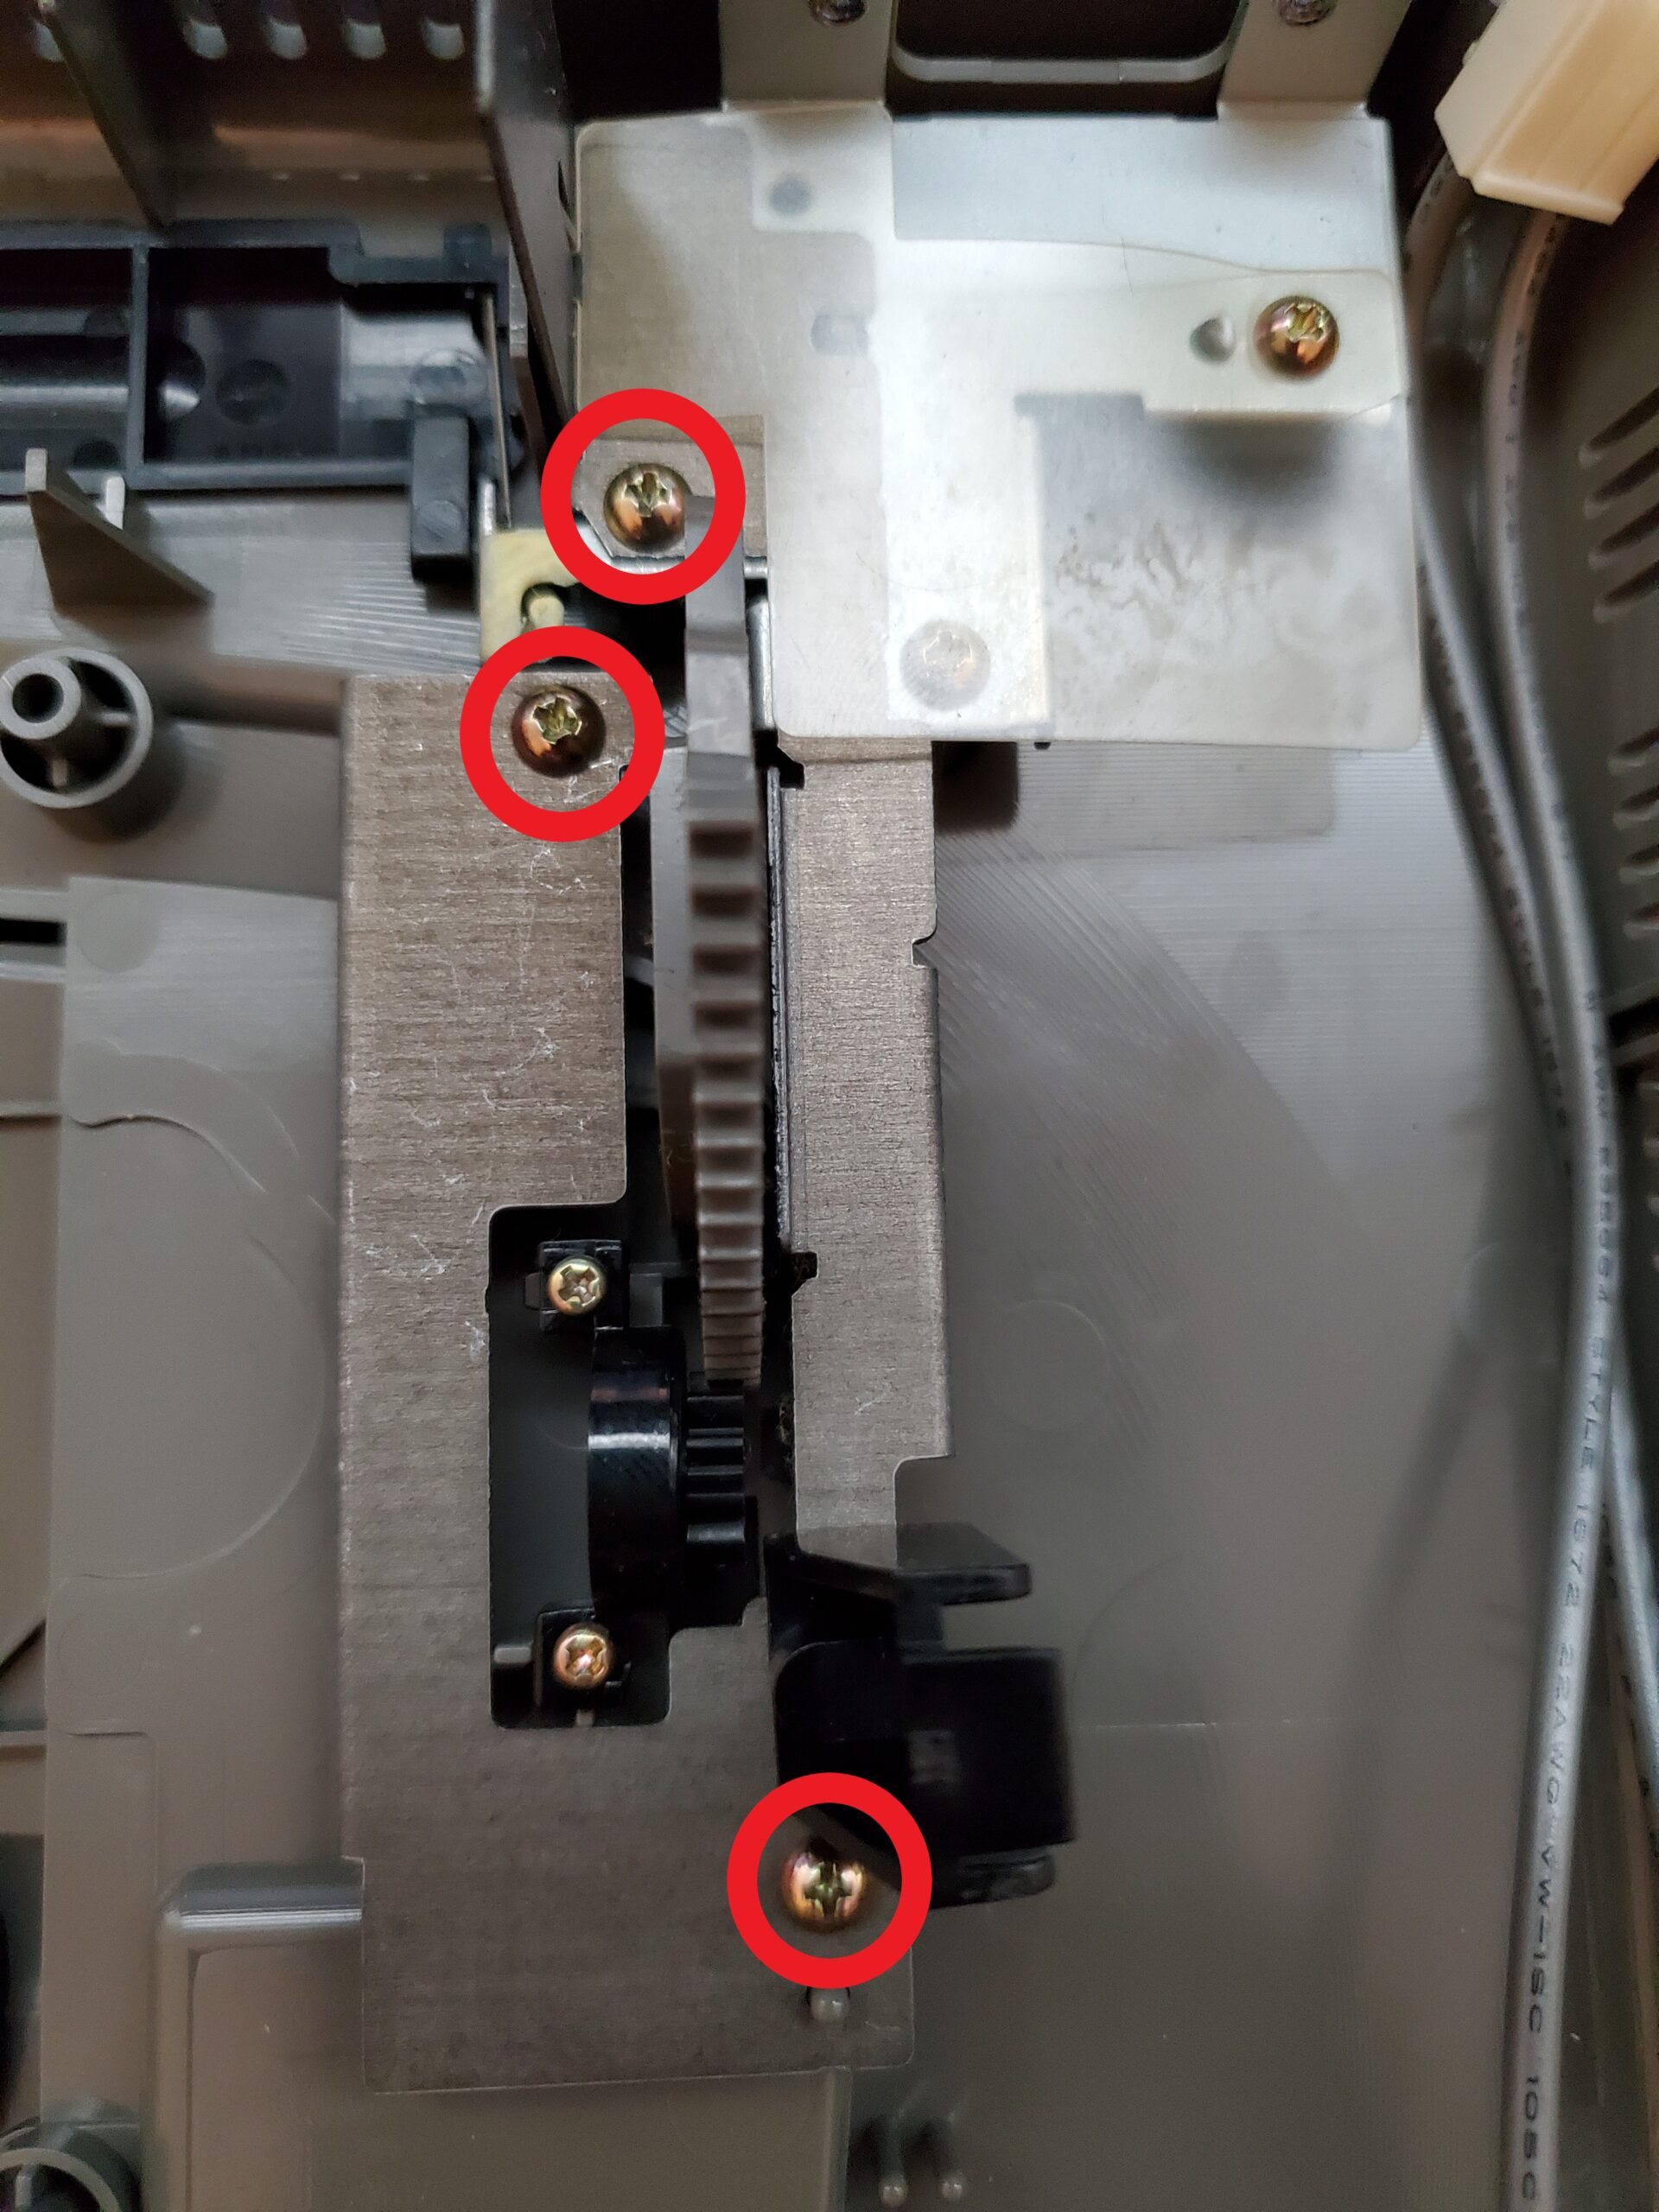
- Once these screws are removed, you may remove the metal bracket. The bracket can be set to the side as it will not be re-used.
- With the plastic circuit board holder out of the way, we can now install your Mobius Power Strip. Grab the bottom half of your console and we can begin the install.
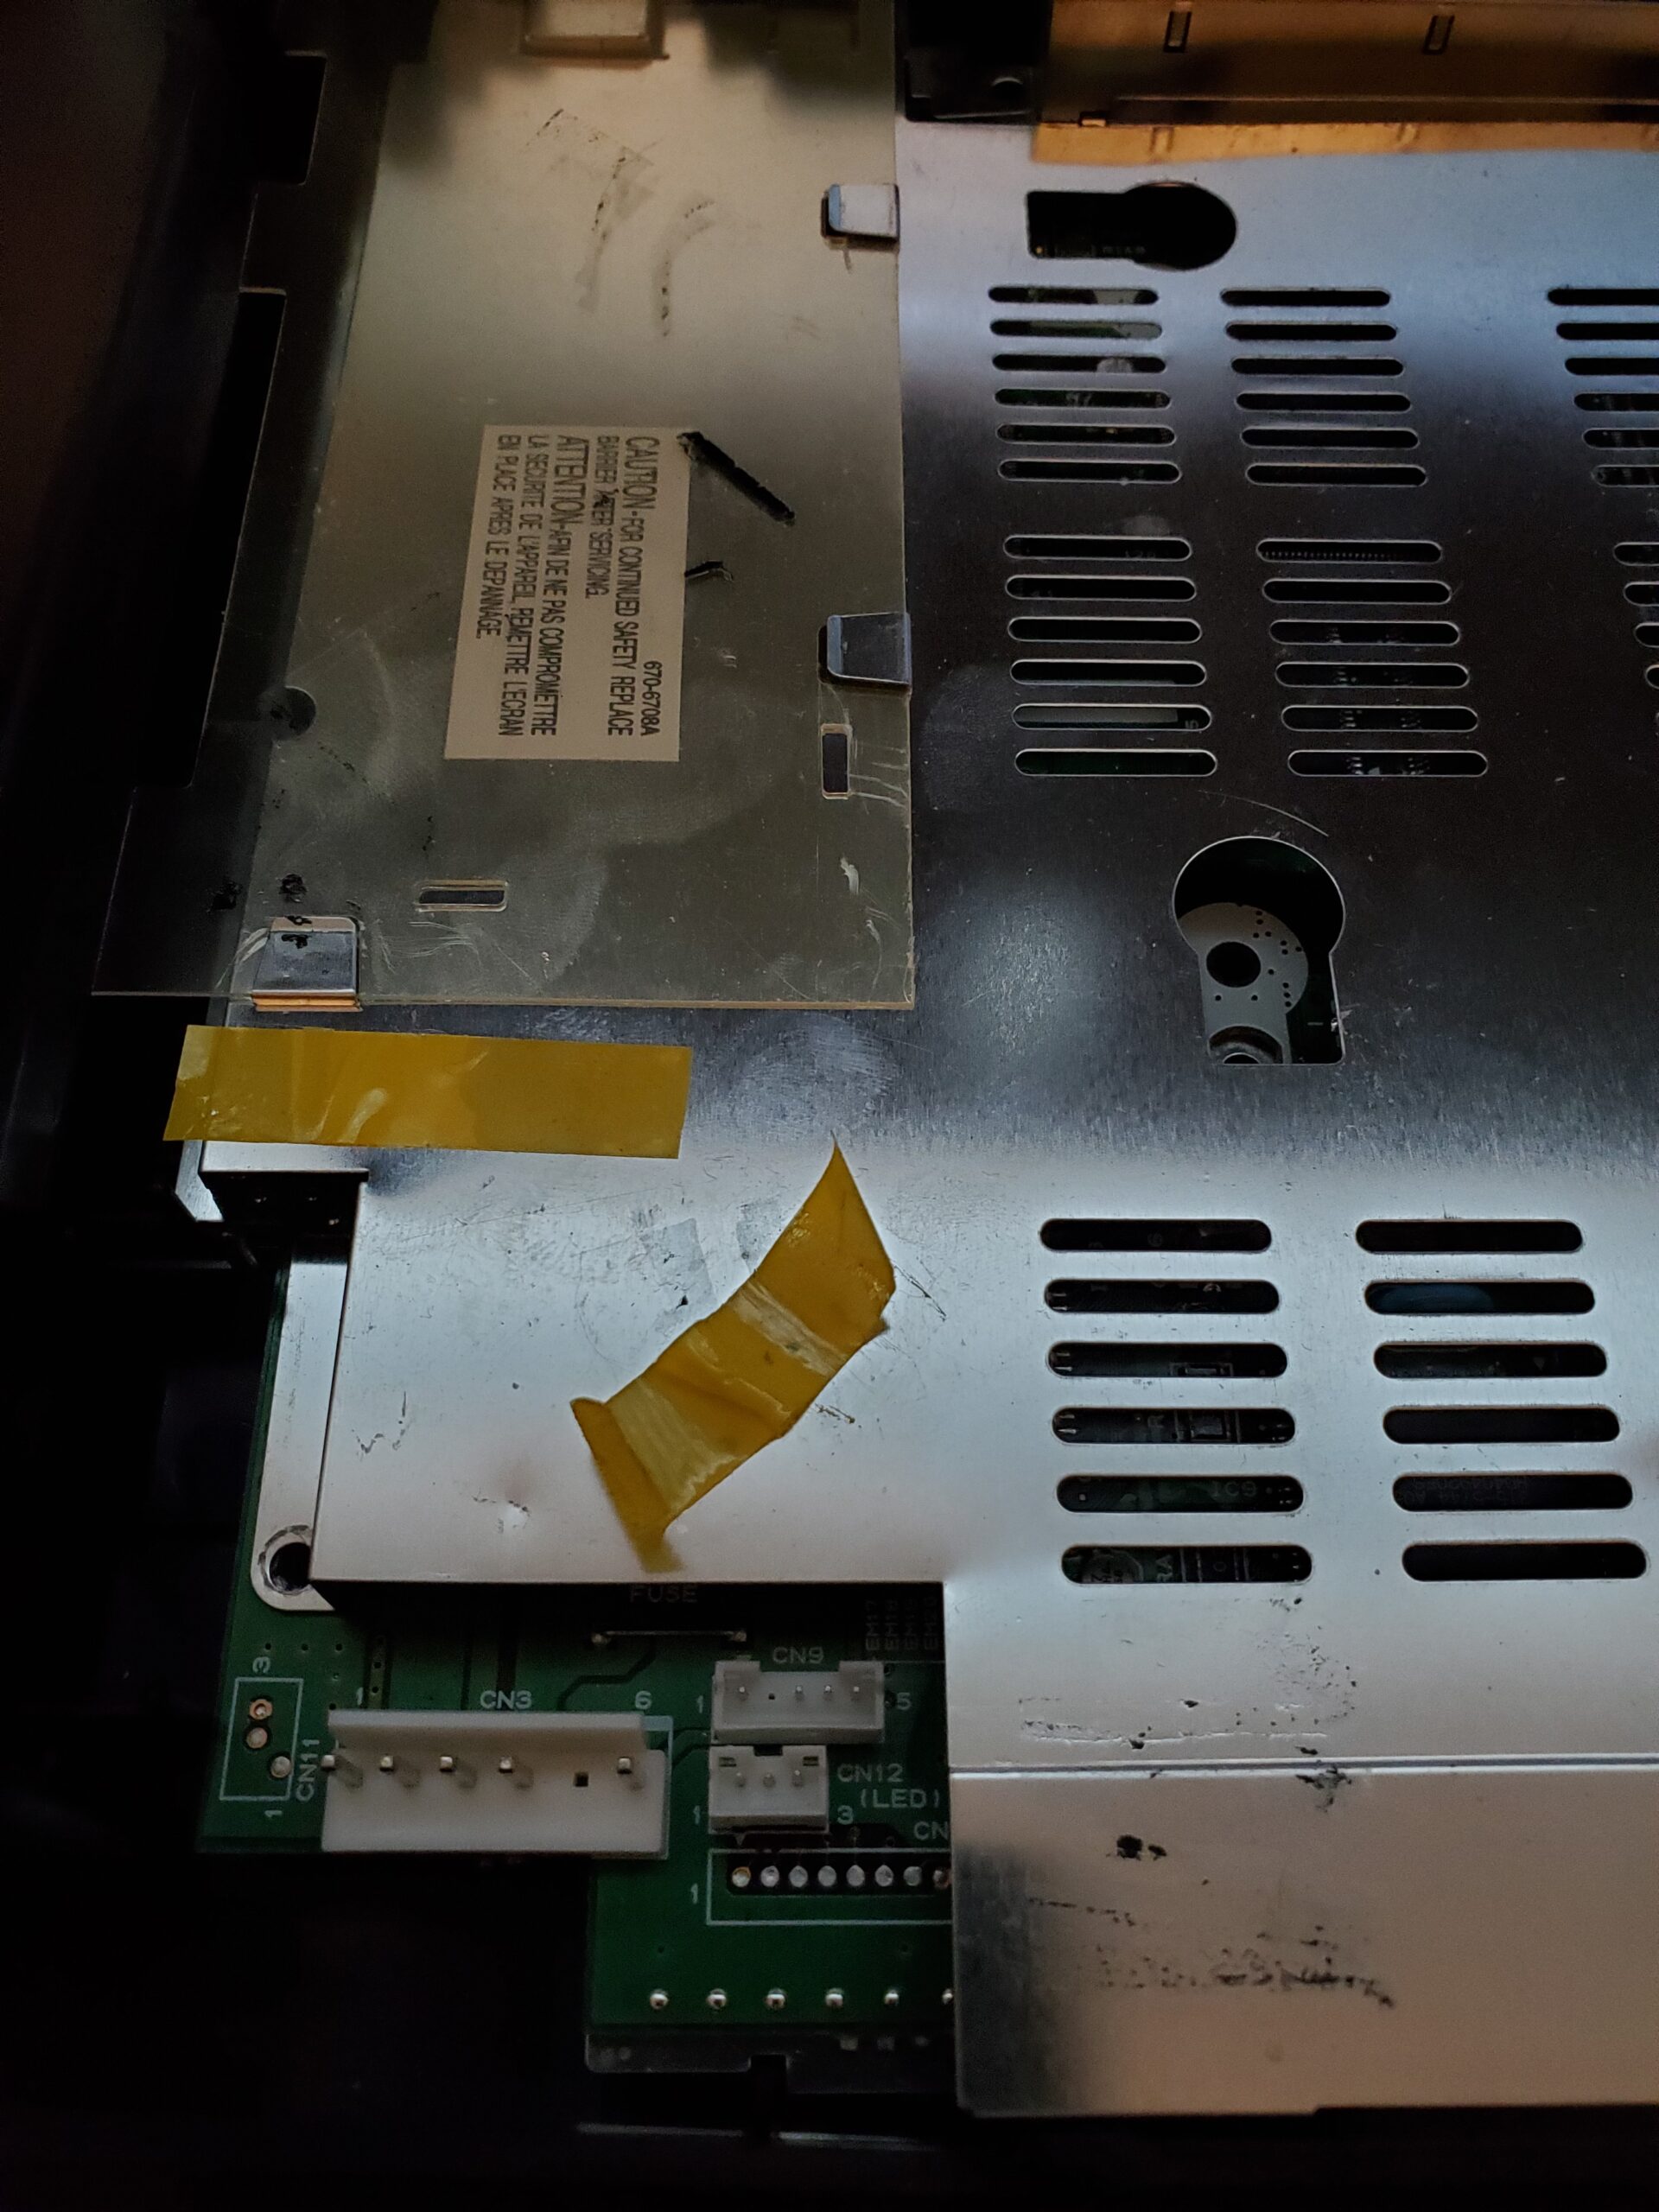
- If your console still has the clear plastic sheet on the metal cover, move it forward as seen in the picture below. If you do not have the plastic sheet, you will need to use electrical tape, kapton tape, cardboard, or another non-conductive material to isolate the metal shield from your Mobius Power Strip. Once you have covered the metal shield, insert the VA0 adapter board as shown.
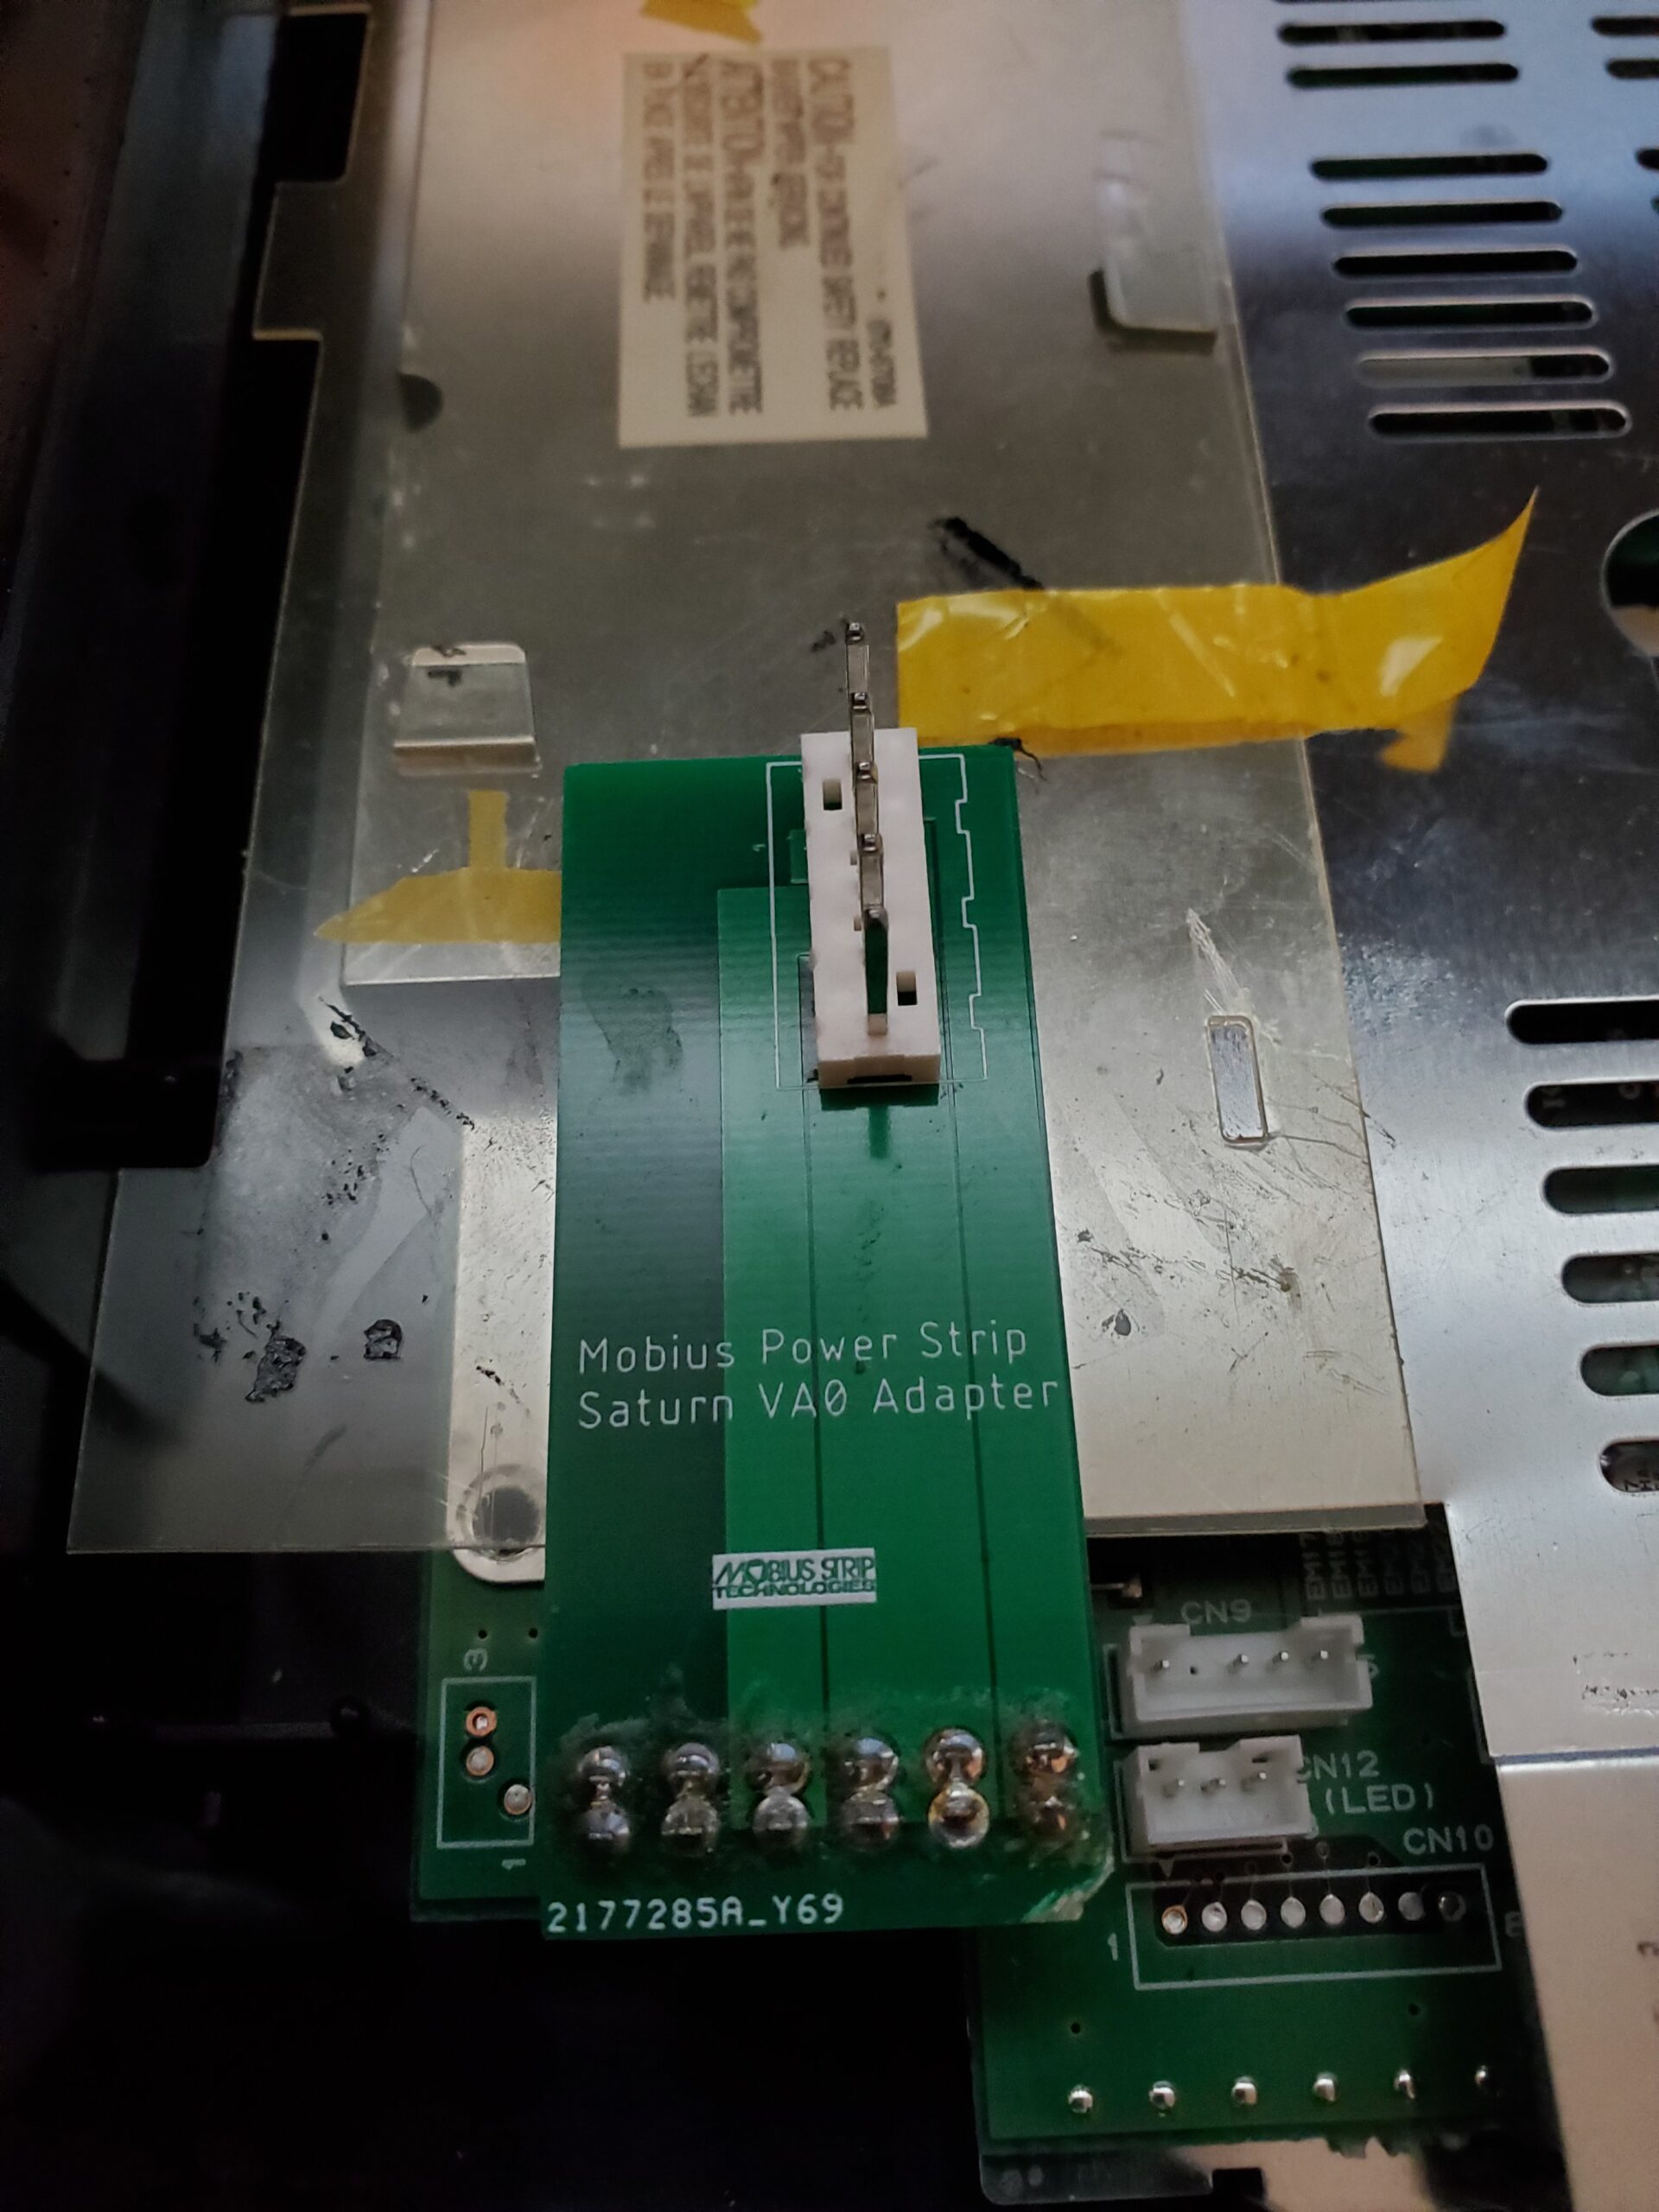
- With the VA0 adapter board attached, we can now install the Mobius Power Strip on to the adapter.
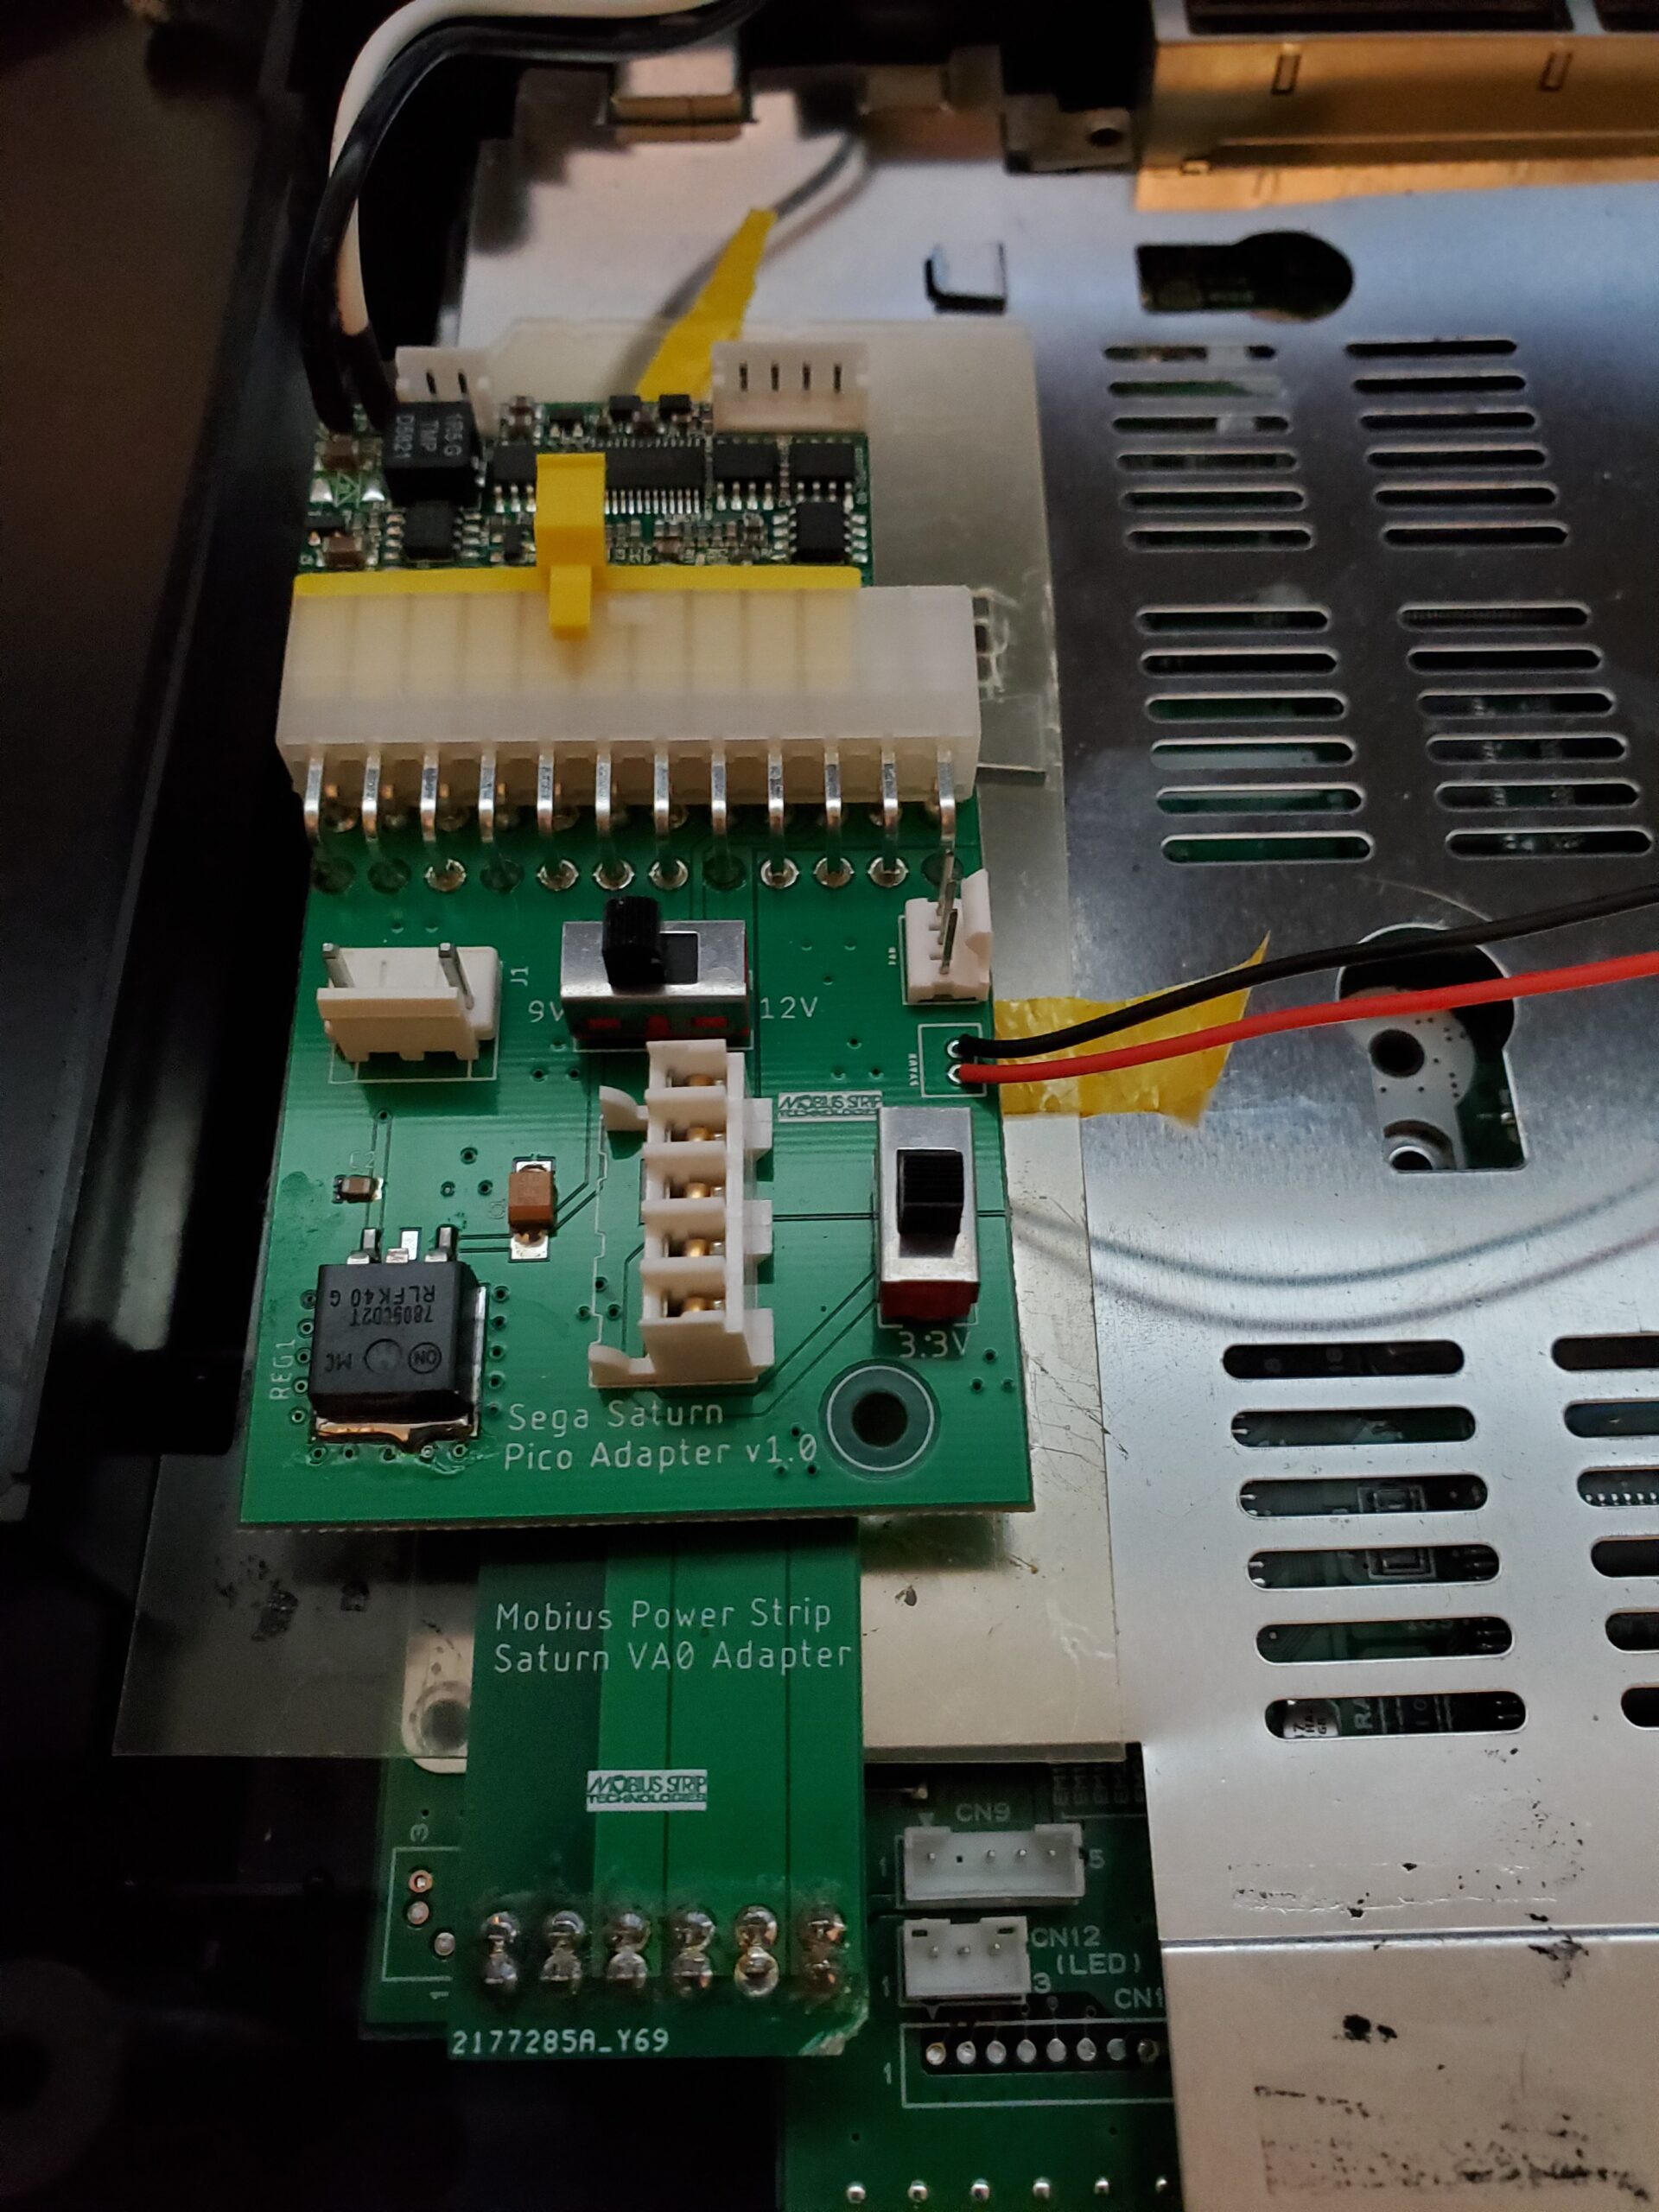
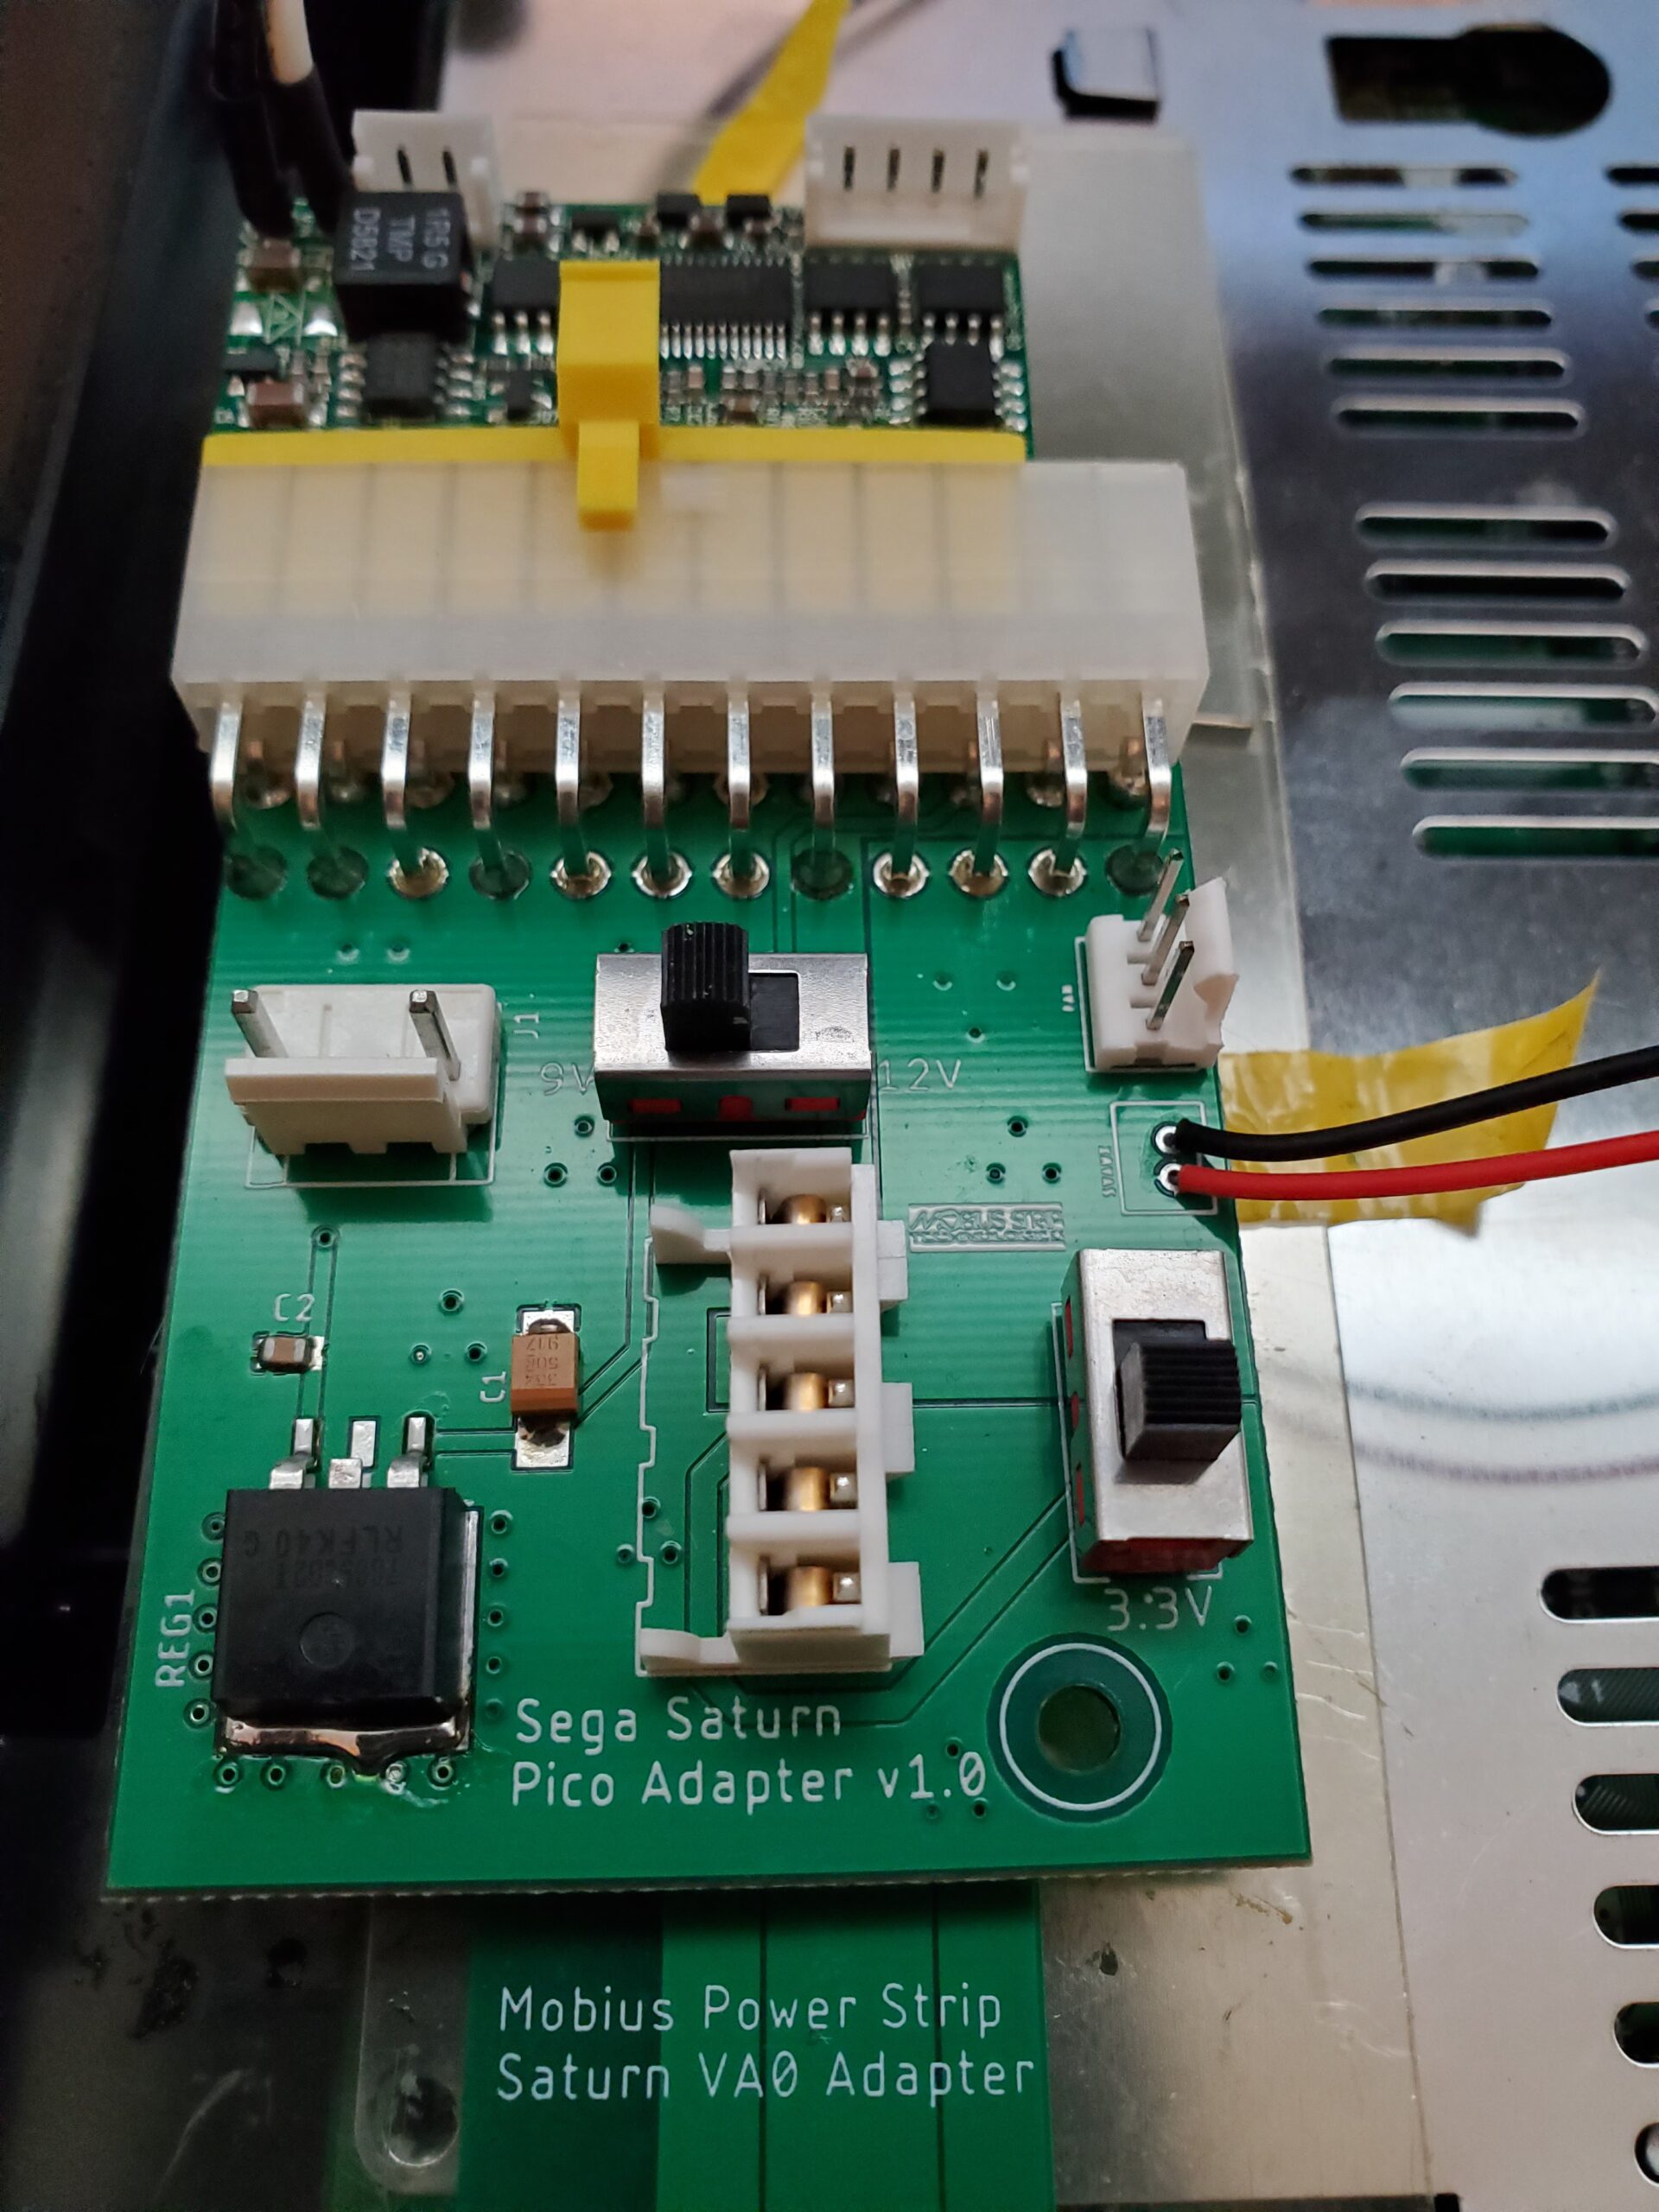
- The last steps are to connect the power switch connector to the 2 pin connector on your Mobius Power Strip, install the 3d printed power jack holder to the back of your console using the original screws, and finally to double-check the switches on your Mobius Power Strip. On the VA0, the switches will always be set to 9V and 3.3V modes. If yours are not set to 9V and 3.3V, please do this now.
- Now that you have verified your switches are correctly set, connected the power switch and power jack, and ensured your VA0 Adapter board and Mobius Power Strip are firmly connected to each other and your Saturn; It’s time to turn on your Saturn. If you followed all of these steps correctly, your Saturn will boot up and work just like it always has, but now more efficiently and with considerably less heat.
- Re-assemble your console and enjoy your Mobius Power Strip.